This short account of the war in the Western Desert from 1940 to 1943 is to give context to my father Cliff’s wartime stories and letters. I had so much trouble keeping track of all the (literal) comings and goings of these campaigns that I thought you, too, might appreciate a bit of background. Which assumes, of course, that like me you’re not familiar with the history, or like me you couldn’t point reliably to the various countries on a map! On the other hand, if you can point to mistakes, oversimplifications and misinterpretations, please comment below.
Help yourself if you’re interested. I’ve tried to keep it to a half hour read, but there are links and footnotes to flesh out the narrative. ~ Ian
§
Italy invades
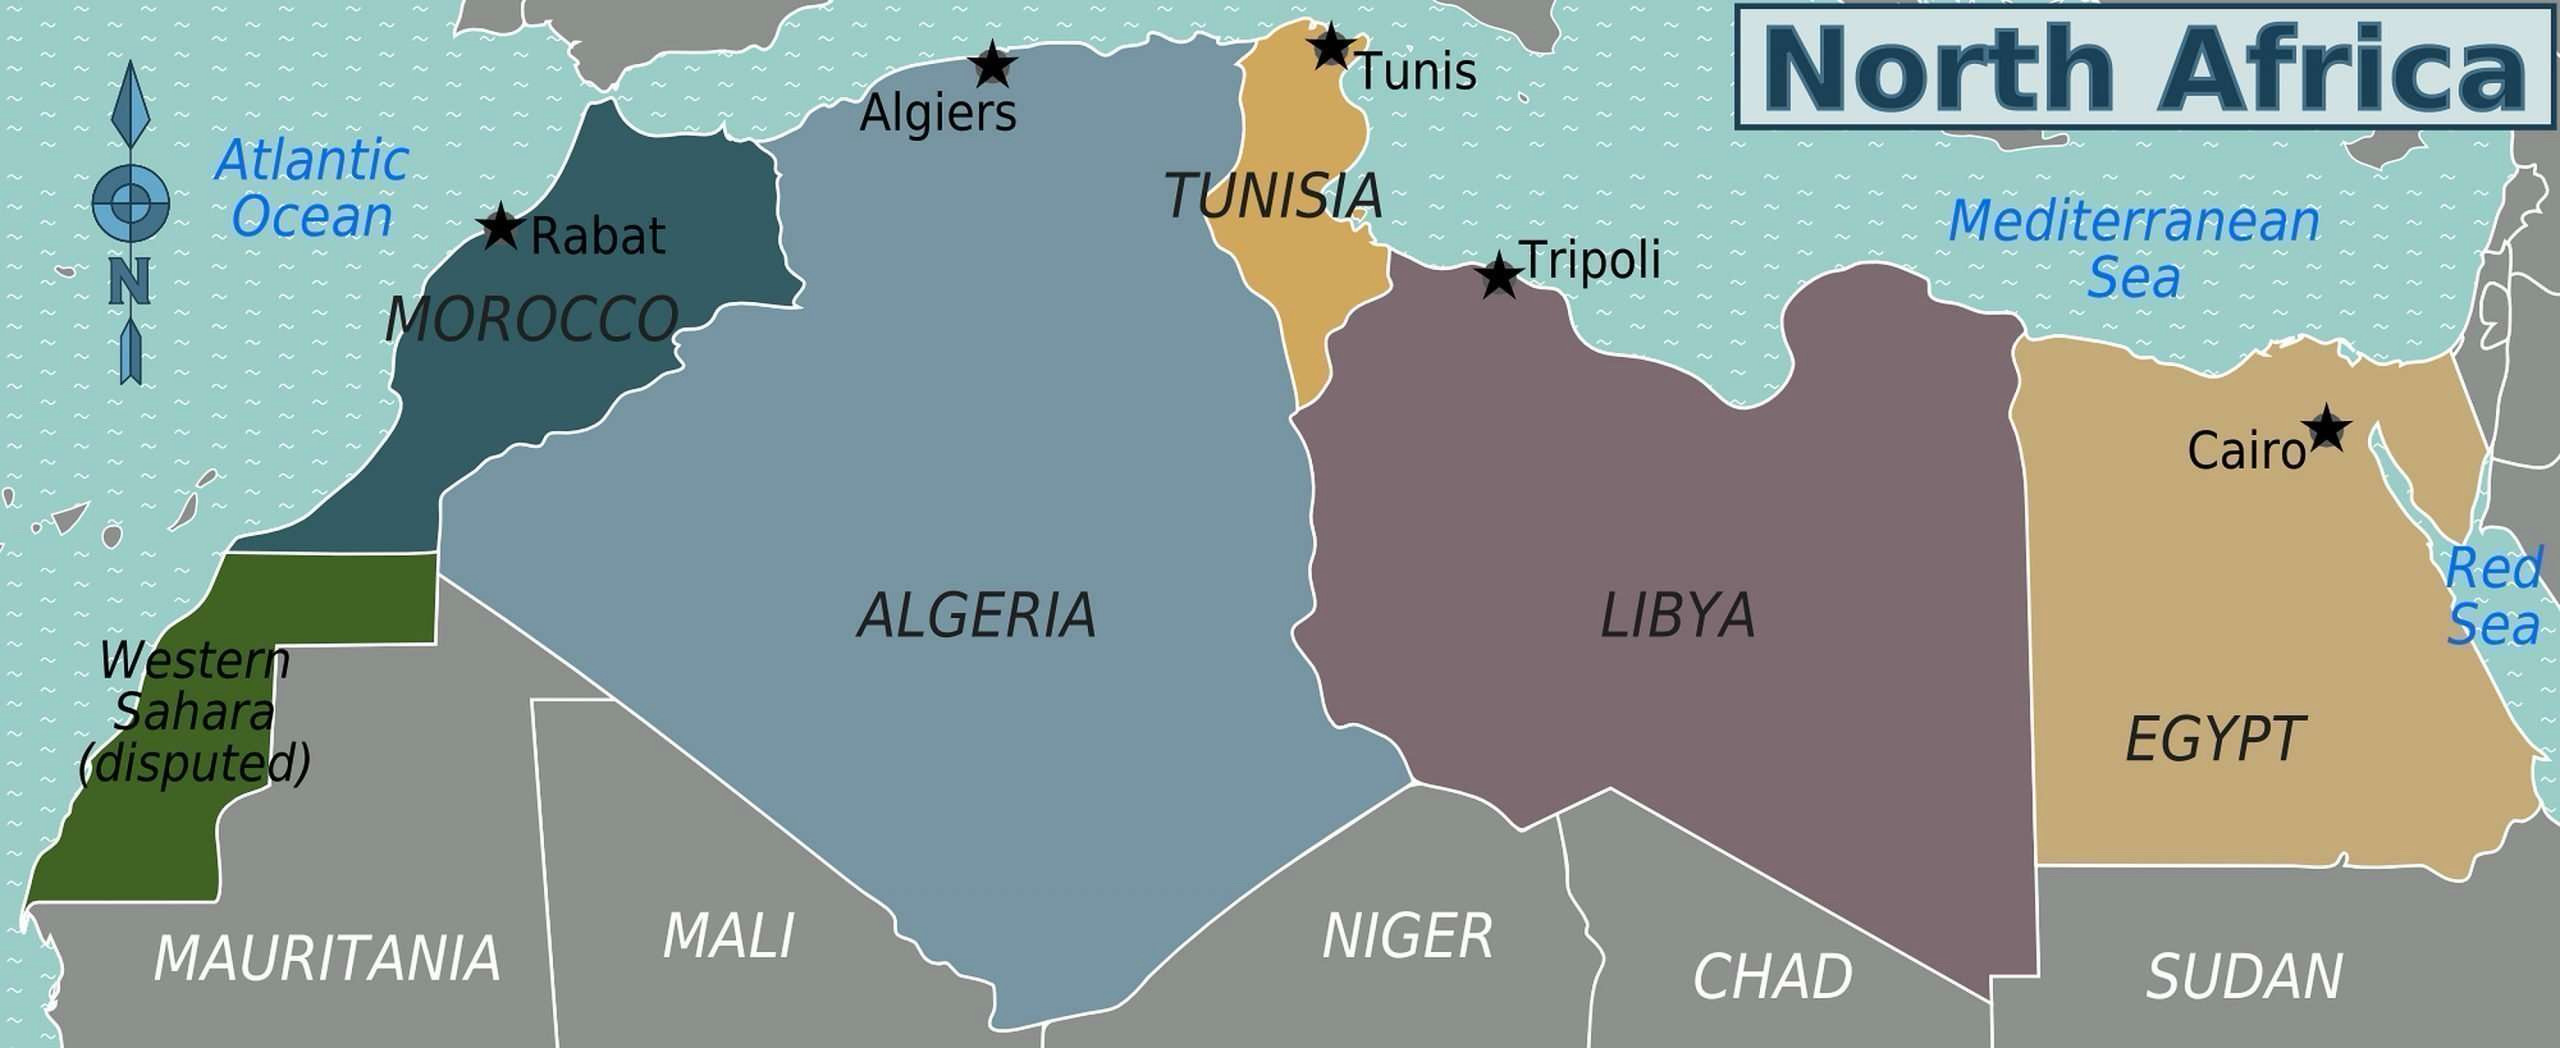
To make sense of the war in North Africa you probably need to start with the various countries involved, and the European powers that controlled them. From west to east they were Morocco, Algeria and Tunisia — all French protectorates — followed by Libya (Italian) and Egypt (British). Morocco and Algeria aren’t really involved in this story, and the precise legal relationships don’t really matter either — what the imperial powers wanted was generally what got done.
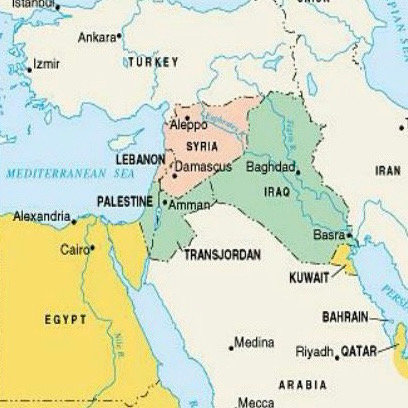
Then, in the Middle East you found the various “mandates” set up under the League of Nations after the Ottoman Empire collapsed following World War I. Roughly speaking, the French mandate covered the current states of Lebanon and Syria, the British what are now Israel, Jordan and Iraq. All of them set up with little regard to religious and ethnic differences, and contributing to endless trouble since.The Middle East isn’t really part of the story, except that Palestine, Syria and Turkey all get a mention, so here they are.
Italy also had three possessions in East Africa: Eritrea, Italian Somaliland and Abyssinia. The latter, now called Ethiopia, had been invaded and annexed by Mussolini in 1935. That little adventure went well, but what followed didn’t, unfortunately for the Italians.
When civil war broke out in Spain the following year, Mussolini sided with Hitler to support the nationalist General Franco against the Republican Government. On the Republican side support came from Russia and an international brigade of volunteers.
The great powers all trod carefully in Spain to avoid sparking a wider war, but three years later Hitler took a step too far in Poland, and Britain declared war on Germany.
So it was no surprise, surely, when Mussolini, keen to get his share of the spoils, declared war on France and the UK in July 1940, and on September 13th sent the Italian 10th Army from Libya into neighbouring Egypt. Their ultimate goal was the Suez Canal, but their advance came to a halt a few days later at Sidi Barrani, about 65 miles (105 km) inside Egypt.
§
Who was going to lose, and why
Right now it’s worth pausing to understand in a paragraph or two what happened over the next three years, and why.
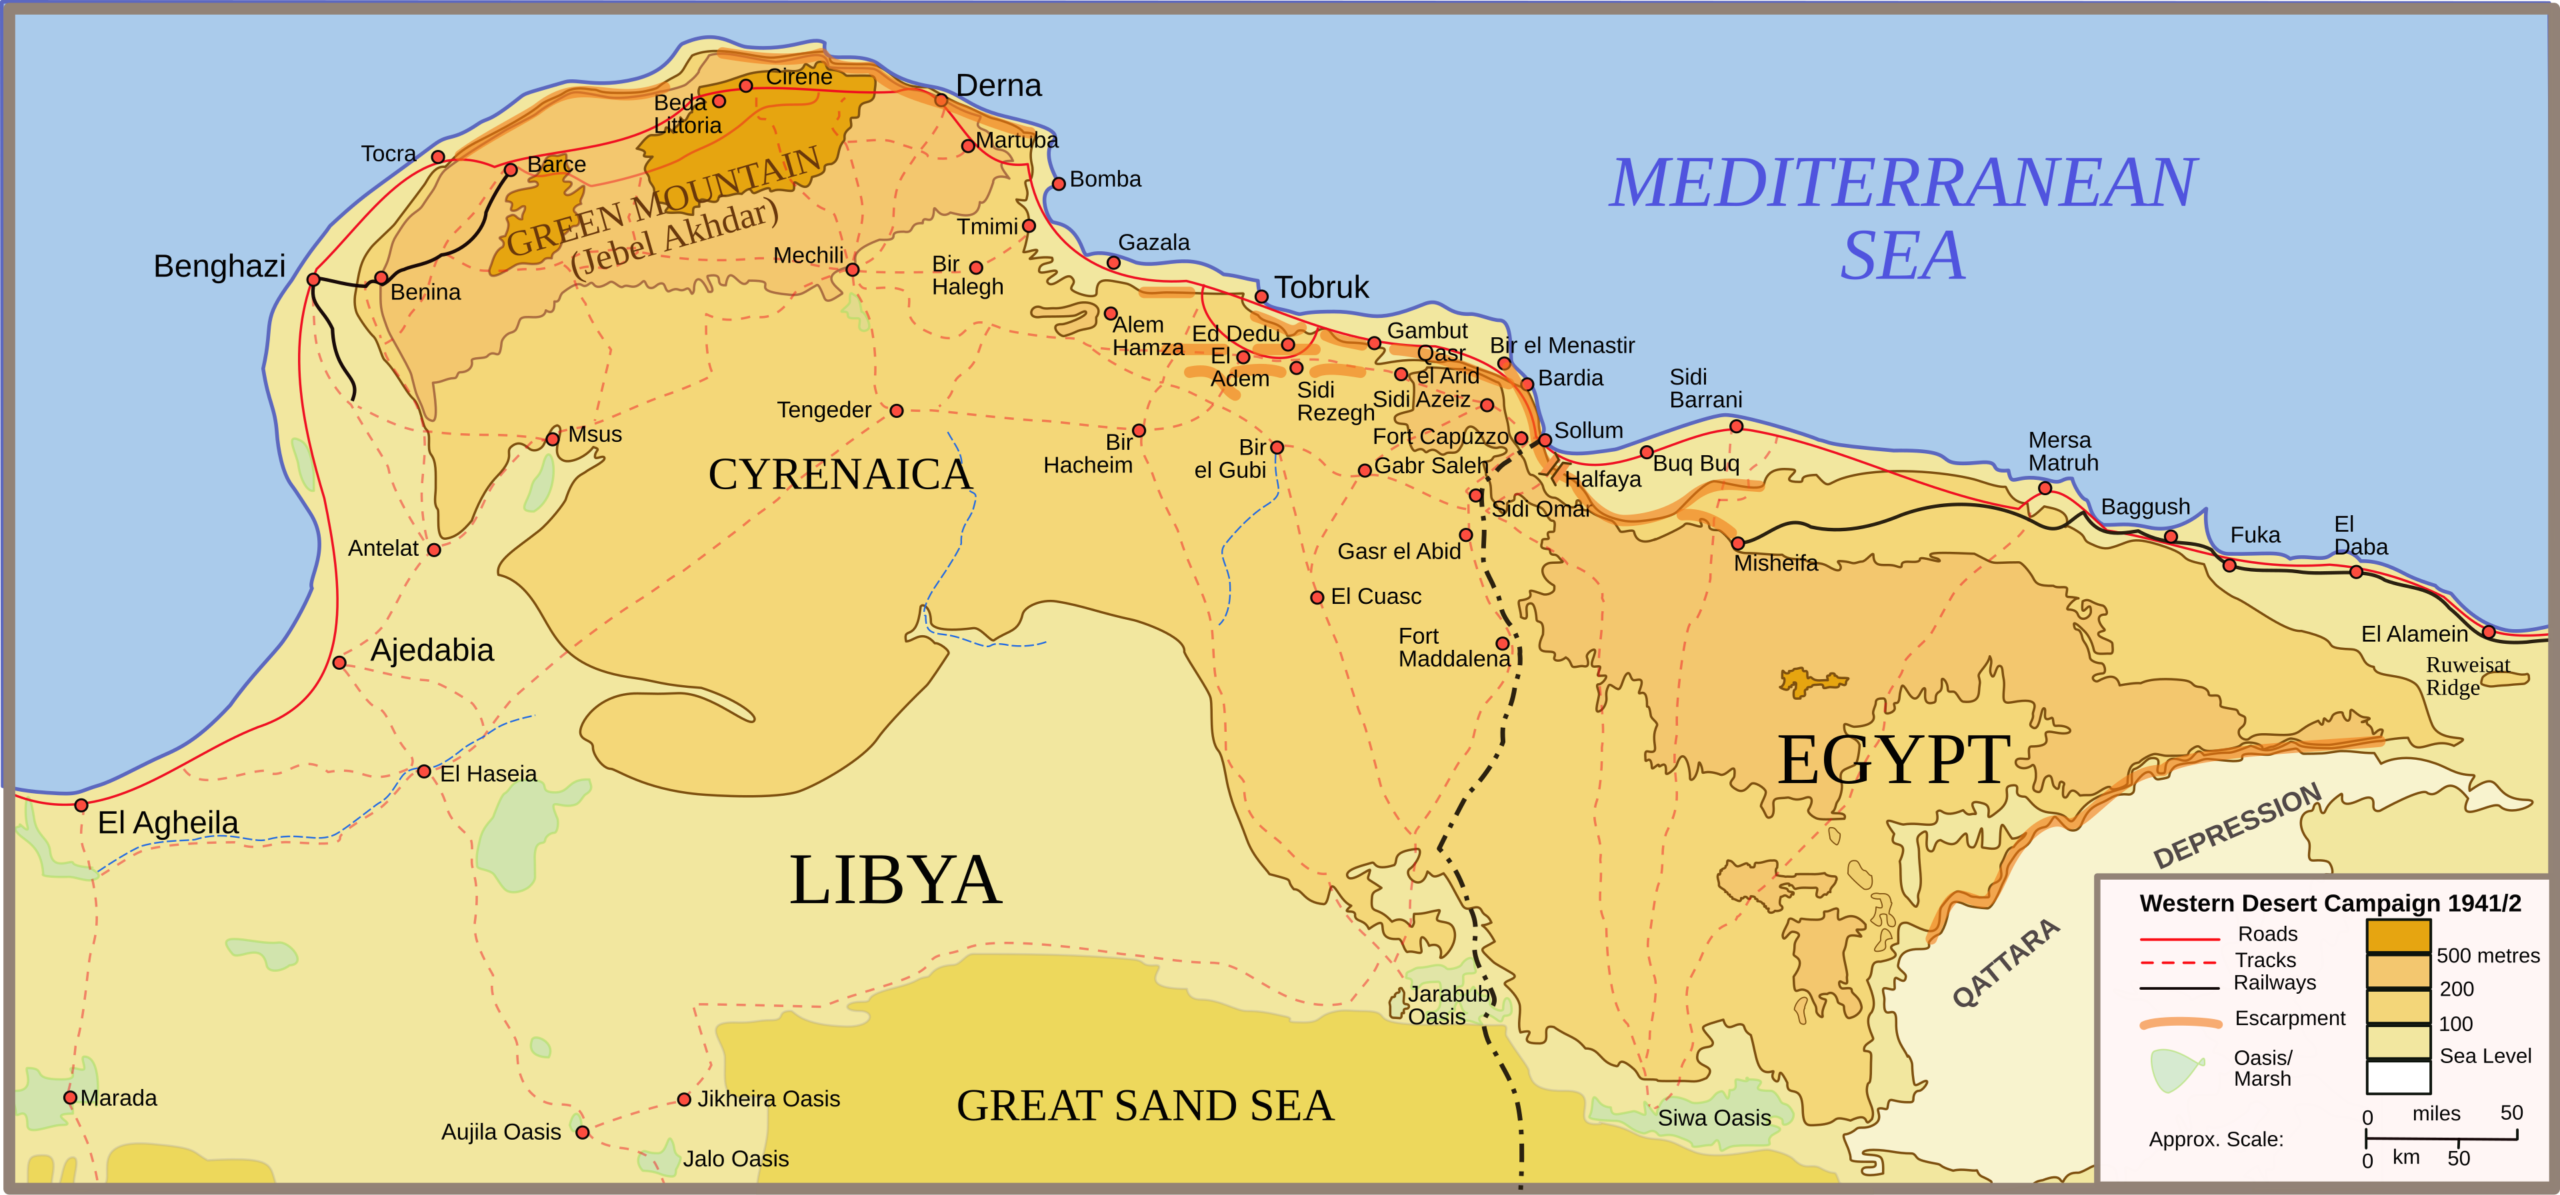
First, look at the map. Most of the land you see is open desert, mostly unpopulated except along the coast, and much of it navigable by tanks, mobile artillery and motorised infantry. If you could supply a mobile force with enough fuel, munitions, food and water it could “sail” anywhere, like a fleet of ships at sea. The desert was a terribly unforgiving environment, of course, and there were natural obstacles — sand, depressions, wadis (dry riverbeds) and escarpments (long slopes or cliffs up to higher ground) — but they weren’t always a hindrance. You could surprise the enemy, outflank the enemy, ambush the enemy. There were no spy satellites. Reconnaissance planes and patrols were all you had.
The areas on the map that were genuinely impassable to tanks and trucks were the Great Sand Sea and the Qattara Depression, but as you can see there was still plenty of room to their north for the mobile columns to fight it out — except, that is, at El Alamein, to the very right. At that point there are only 40 miles between the Qattara Depression and the Mediterranean. If tanks and guns and minefields and men were in your way at Alamein, you couldn’t outflank them — you had to bulldoze your way right through.
Next things to consider were supply lines. Back to the maps! British supplies — fuel, ammunition, food and water — came by sea through the Mediterranean to Egypt and landed at Alexandria. Italian and German supplies came south across the Med, primarily from Italian ports, and landed at Tripoli. But it was nearly 2000 km from Tripoli to Alex, so supplying the Axis forces at El Alamein — approximately 116,000 troops and their equipment — was a massive challenge. There were two other significant ports, at Benghazi and Tobruk, if you could capture them, and they were still operational, but otherwise it was a very long drive along what was essentially a single coastal road, the Via Balbia.
And of course the same things applied in reverse to the British 8th Army.
What those paragraphs do is identify and explain the major focal points of the desert war — the ports (fought over and bombed), the choke points (including lesser ones at Helfaya Pass and El Agheila, for example), the coastal road, and the shipping lanes of the Med (supply ships and troop ships).
And once 8th Army finally reached Tripoli it was still a long, long way to Tunis and final victory.
§
Foot soldiers
Which takes us back to the Italians and their major shortcoming. The British forces had transport in 1940 — they were motorised, they moved around in trucks — while the Italians, to put it bluntly, generally had to walk.
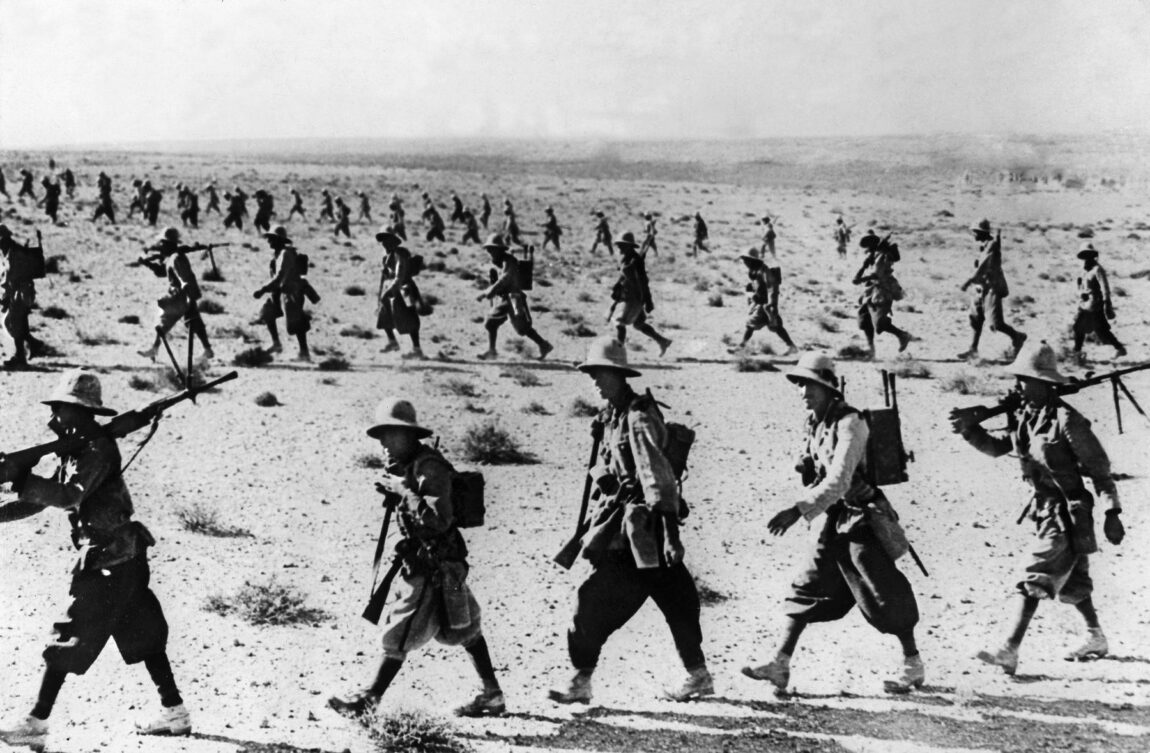
It’s not that the Italians had no transport, but there wasn’t nearly enough, and what they did have was in a separate unit, the 2nd Libyan Transport Group, which at any one time was likely to be fielding competing demands from different infantry units for its inadequate resources
And, leaving aside that compared to the British the Italians were poorly equipped in everything from rifles to tanks, this was no way to compete in a mobile/motorised war.
§
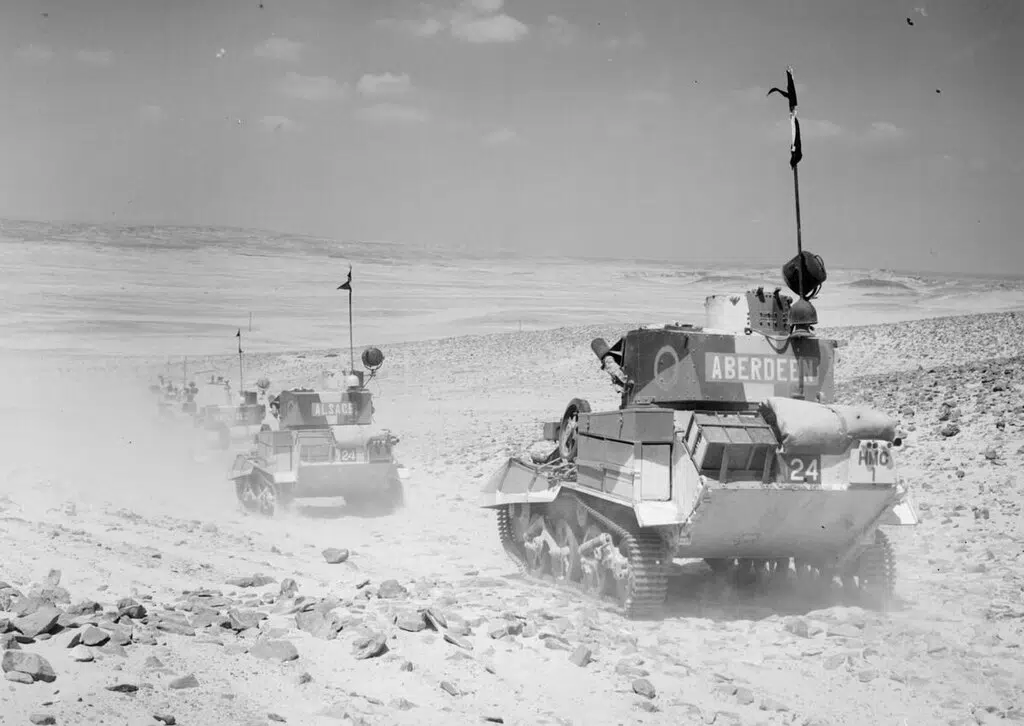
The British responded to the Italian invasion in December 1940, and Operation Compass illustrates what I’ve been saying perfectly. The Western Desert Force overwhelmed Italian positions from Sidi Barrani and Halfaya Pass through to Bardia, Tobruk and Derna, which left the remainder of 10th Army retreating down the coast road towards Tripoli.
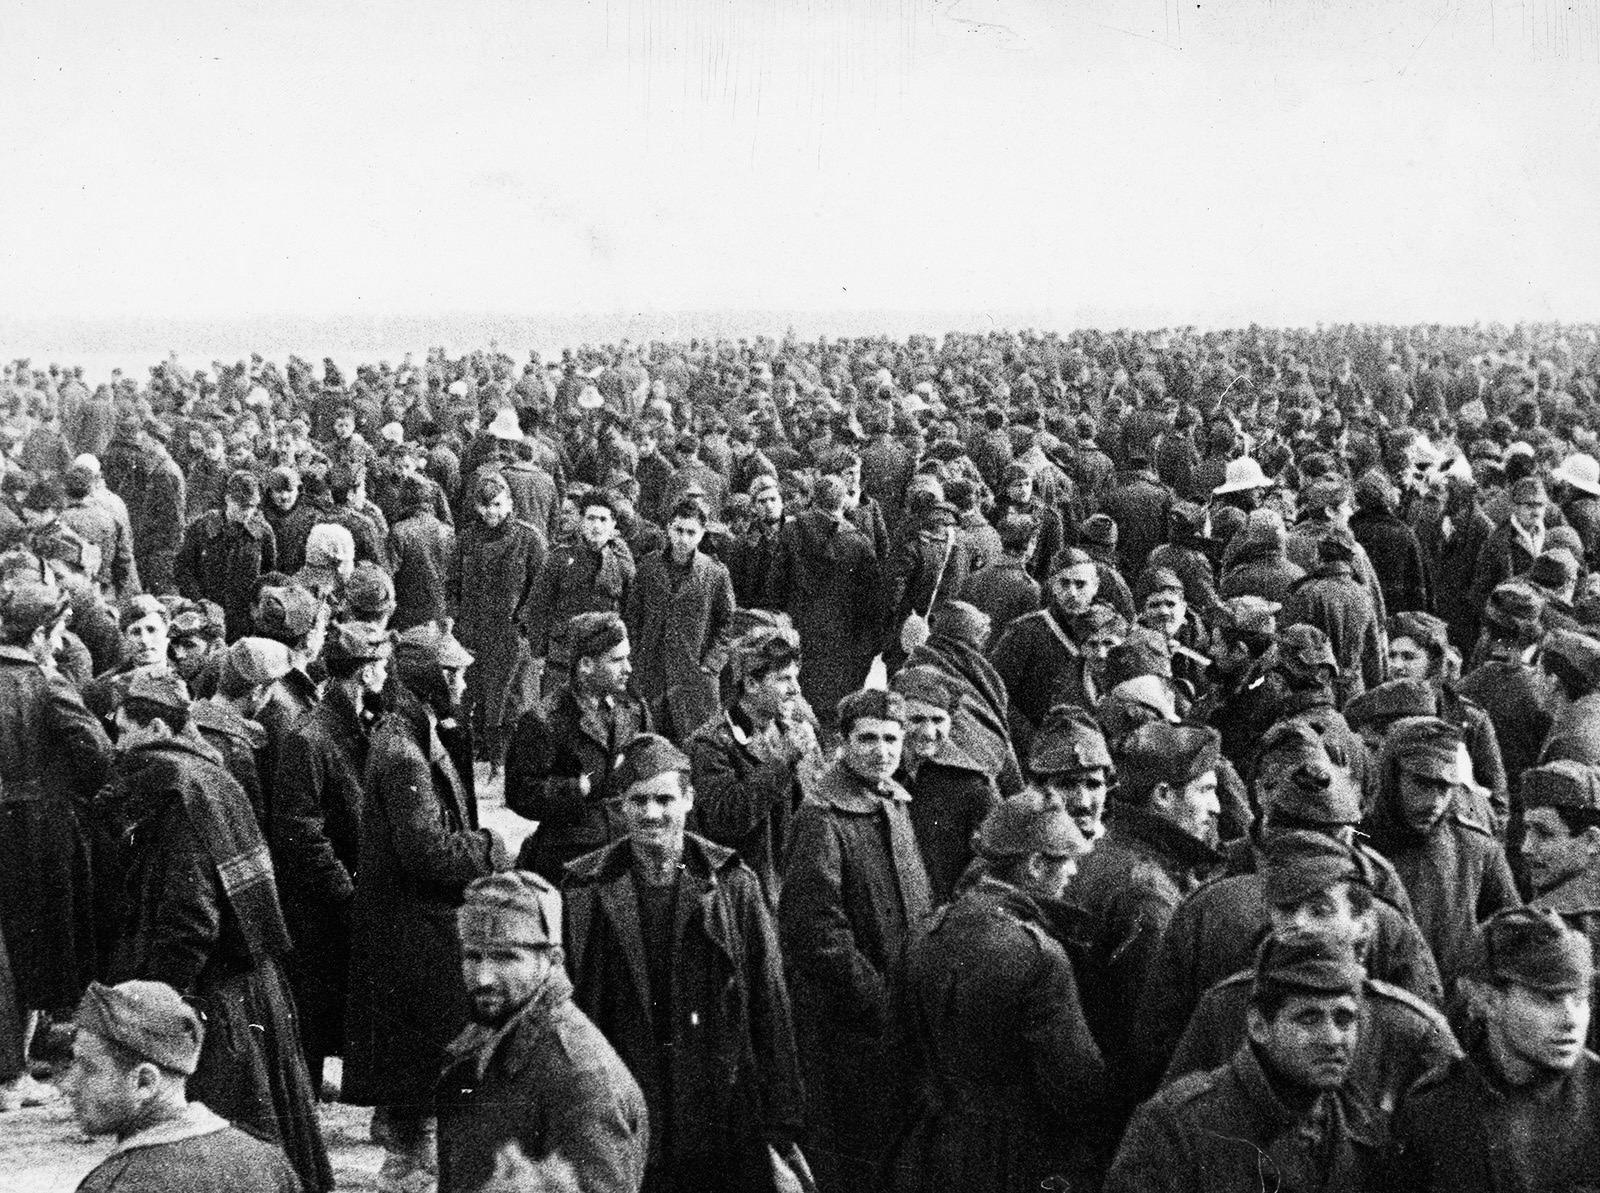
The British General, Richard O’Connor, then sent a “flying column” from 7th Armoured Division — armoured cars, motorised infantry, a few light tanks, and field and anti-tank guns — racing 150 miles or so down desert tracks to overtake the Italians and set up a roadblock on the Via Albia. The Italians attacked this without success for two days, at which point Allied reinforcements arrived and the Italians surrendered. The 25,000 prisoners taken on 6 February at Beda Fomm were just a fraction of the 130–133,000 taken since the British counterattack began. To put that in perspective, roughly 36,000 Allied troops participated in Operation Compass.
Erwin Rommel himself, by the way, was reluctant to criticise the Italian military, instead blaming the Italian defeat on their poor armament, the whole military state and system, and the general lack of interest in the war by many Italians “both officers and statesmen”.1
By the end of February 1941 the Allies had advanced about 500 miles (800 km) into Libya, and reached El Agheila on the Gulf of Sirte, which appears at the very left of the map above. The names of the places they’d captured along the way became famous over the next few years — Bardia, Tobruk, Benghazi and the rest.
With their forces worn down by this dramatic advance, the British didn’t continue on to Tripoli, and some of their troops, including the New Zealanders involved, were diverted to Greece, and then into Crete, both unsuccessful campaigns that are outside the scope of this story, but cost 2NZEF dearly.
§
Rommel and the Afrika Korps
The next move in the big game was the first units of the German Afrika Korps landing in Tripoli in February 1941 to reinforce the Italians after their defeat. They were led by General Erwin Rommel, and his success was as dramatic as the British.
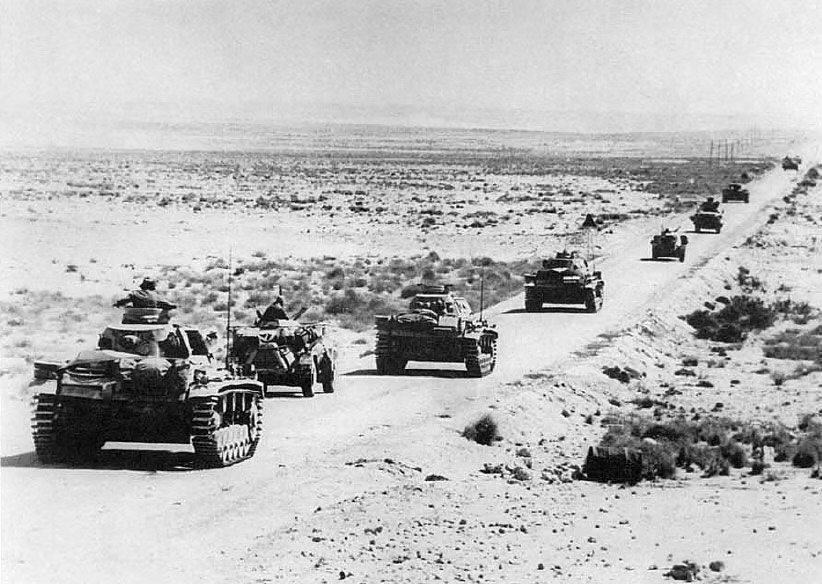
His initial offensive began on March 24, and by the middle of April the German-Italian forces had recaptured El Agheila, Benghazi, Derna, and Bardia. They reached as far as the Libyan border and laid seige to the strategically important port of Tobruk, where the British managed to hold on.
§
Operation Crusader
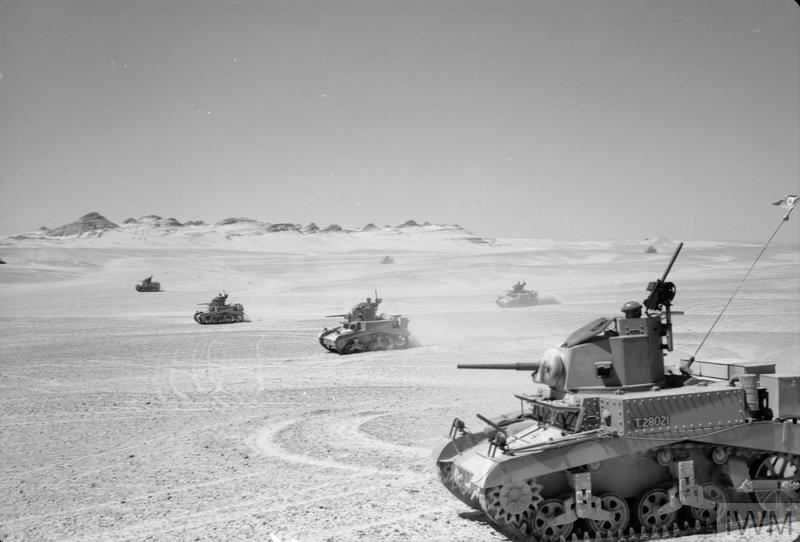
The Allies responded in turn with Operation Crusader, which began on November 18, 1941 with the goal of raising the siege of Tobruk and re-taking Cyrenaica from Rommel. It was preceded by several significant actions, including Axis attempts to capture Tobruk and a British attempt to break the siege and retake eastern Libya. The front line remained active in the lead-up to Crusader, with ongoing sorties out of Tobruk, patrol clashes, raids, artillery exchanges, air attacks and supply-line operations.
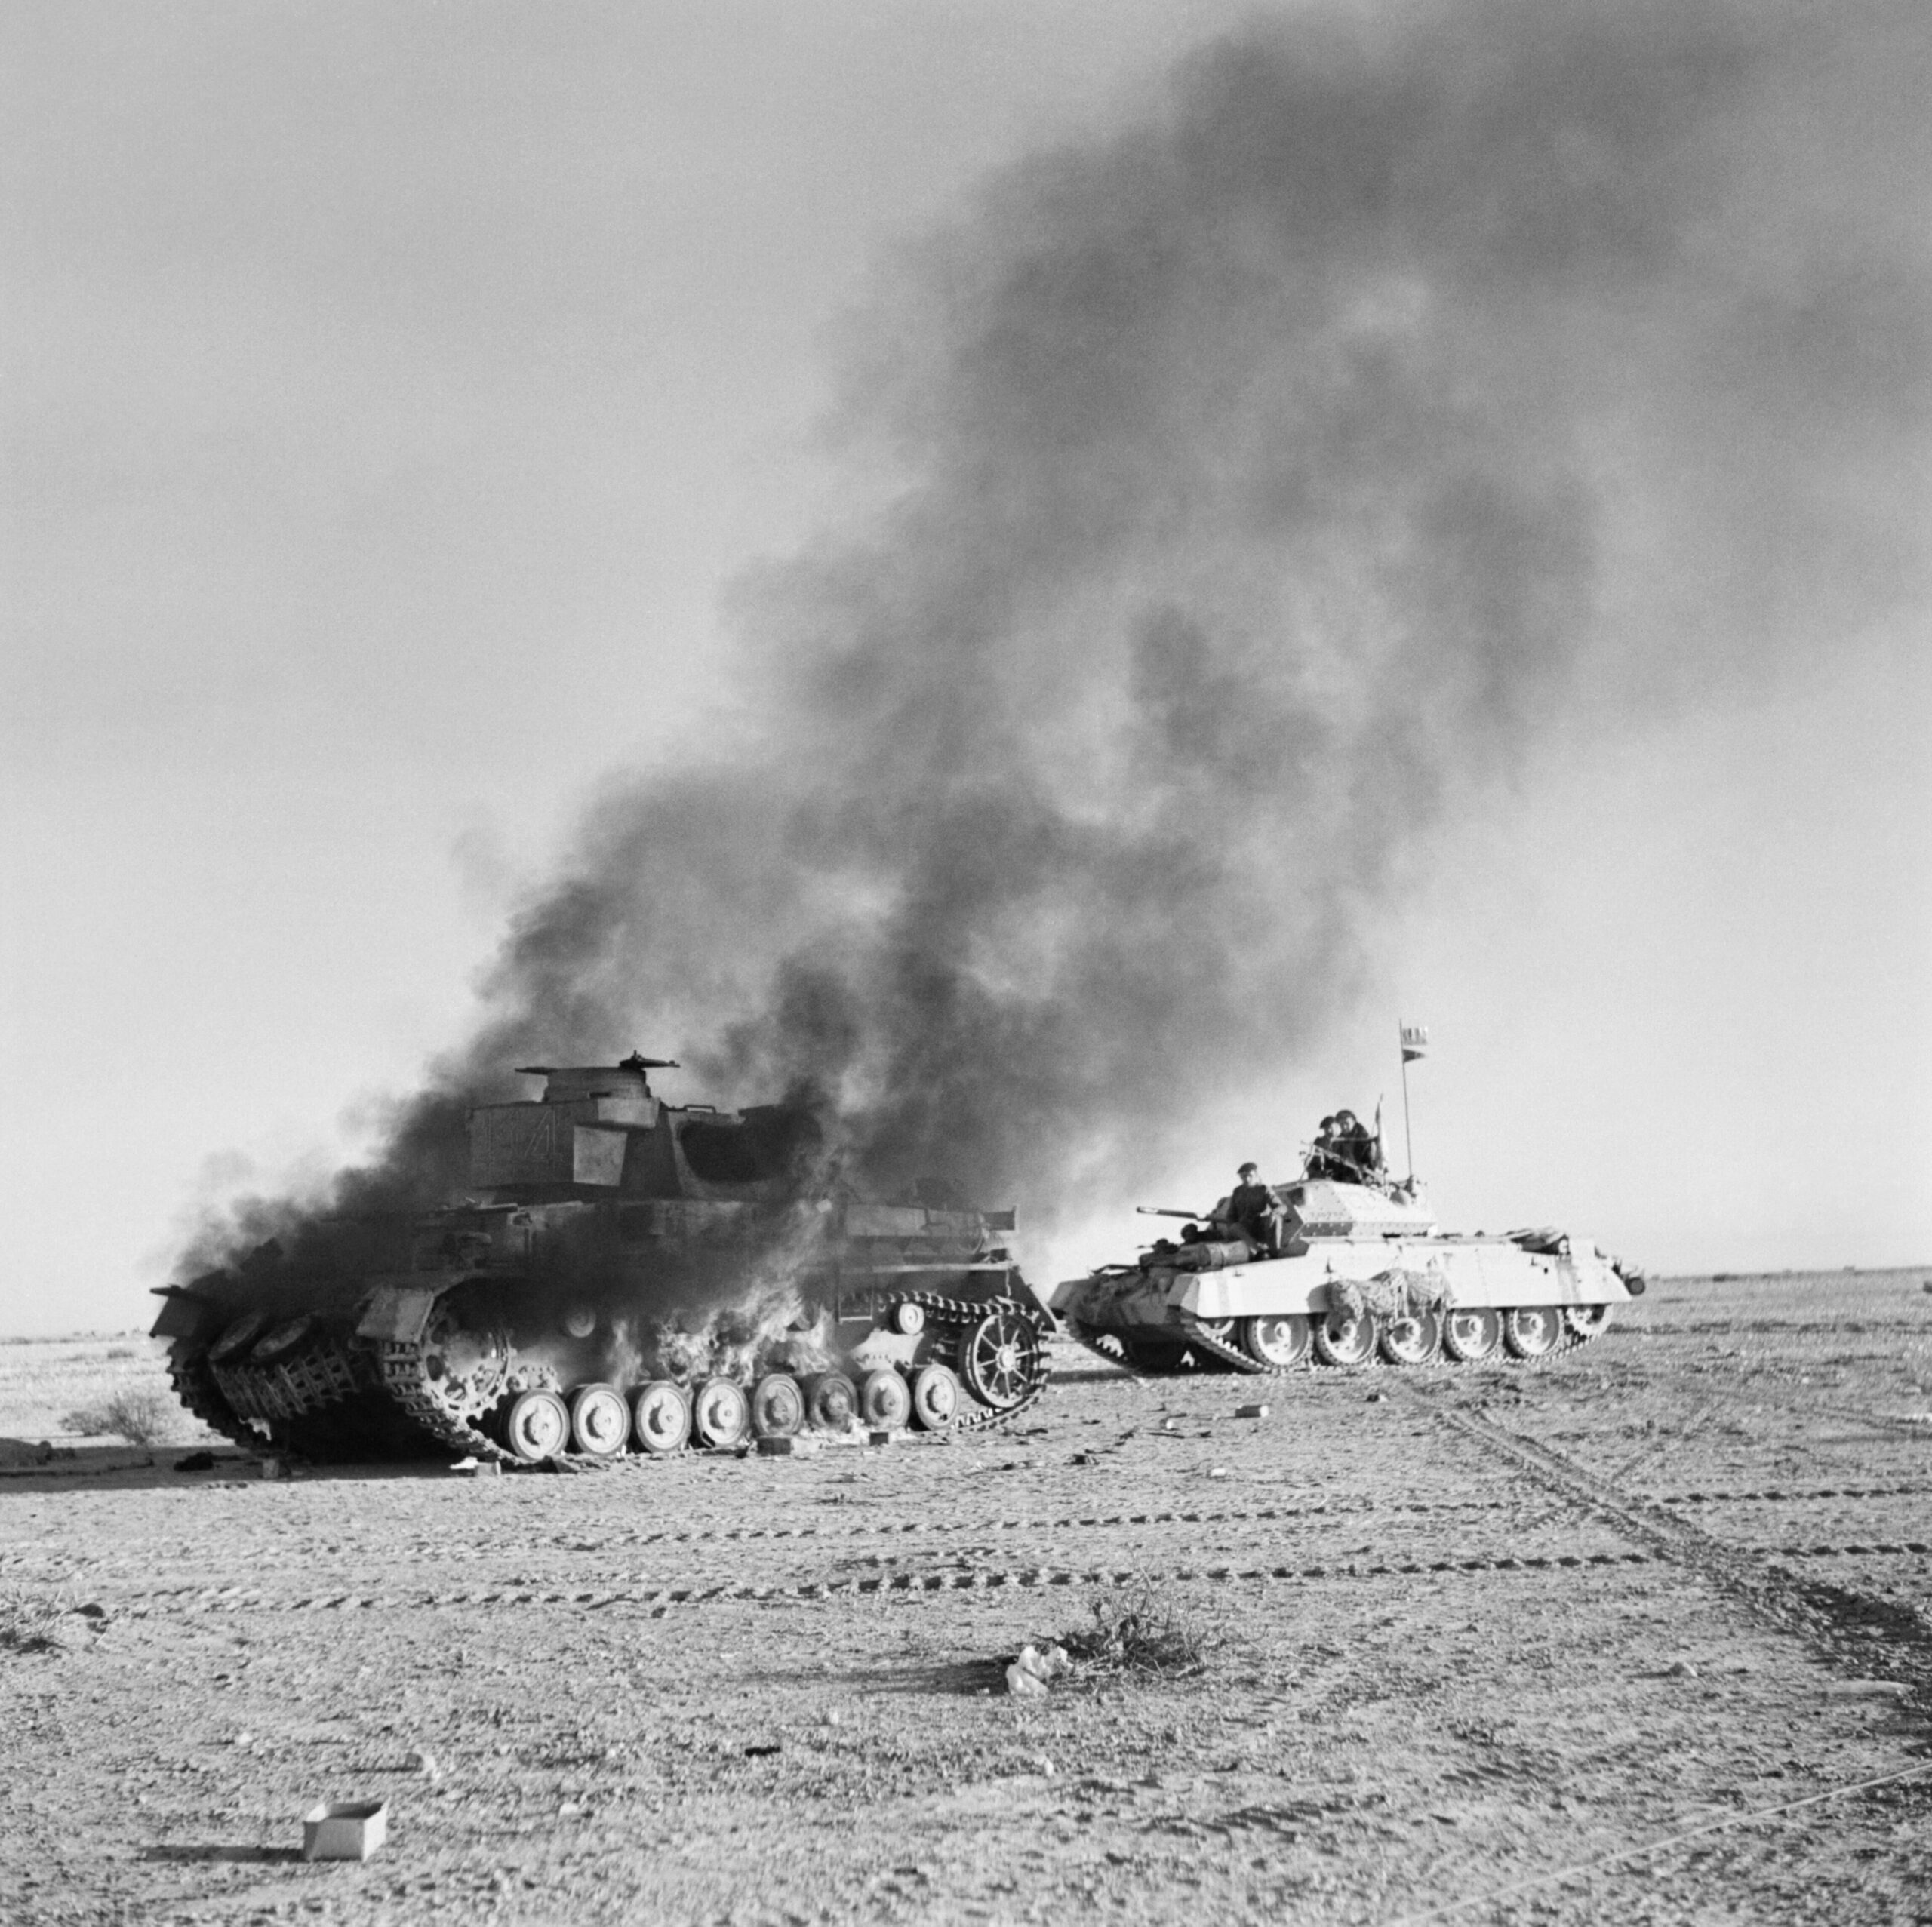
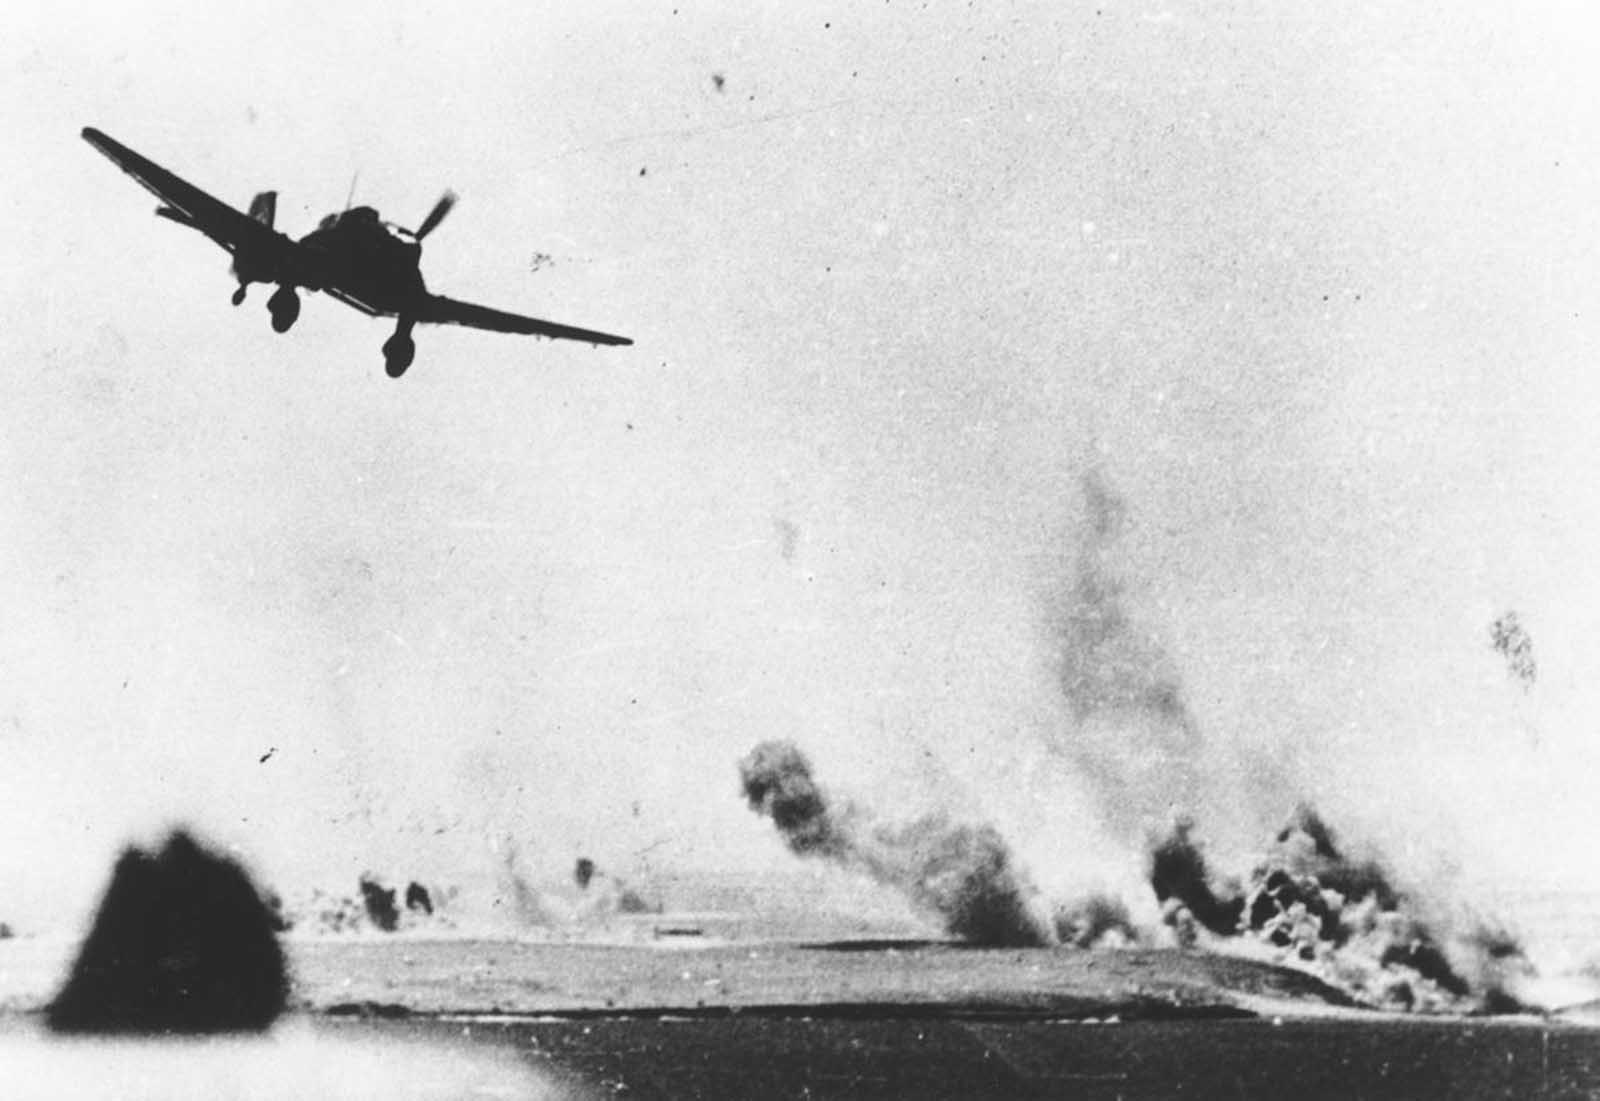
Crusader involved a confusing, to-and-fro tank battle over a huge desert area, attempts to outmanoeuvre, trap and destroy each other’s forces, and massive losses on both sides. Years ago I tried to write a blow by blow account, and gave up, deciding that the commanders were probably as confused as me at times — on the day at least, if not by the time the war histories were written.
There had been limited NZ involvement since Operation Compass the previous December, but Crusader was 2NZEF’s first major engagement in North Africa, and the Greece and Crete veterans were by then back with the Div. It was also the first time Cliff came under fire.

The New Zealander infantry were principally involved in an attack on the Sidi Resegh escarpment, another name that would be famous for a while. The plan was to seize the high ground of the escarpment, and from there break through and link up with the Tobruk garrison. It started the night of 23rd and 24th November, and took four more nightly attacks to capture the entire feature and connect with the garrison. Cliff was seriously wounded on the third night, when the Battalion to which he was attached had “gone too far” and “suffered severely”.3
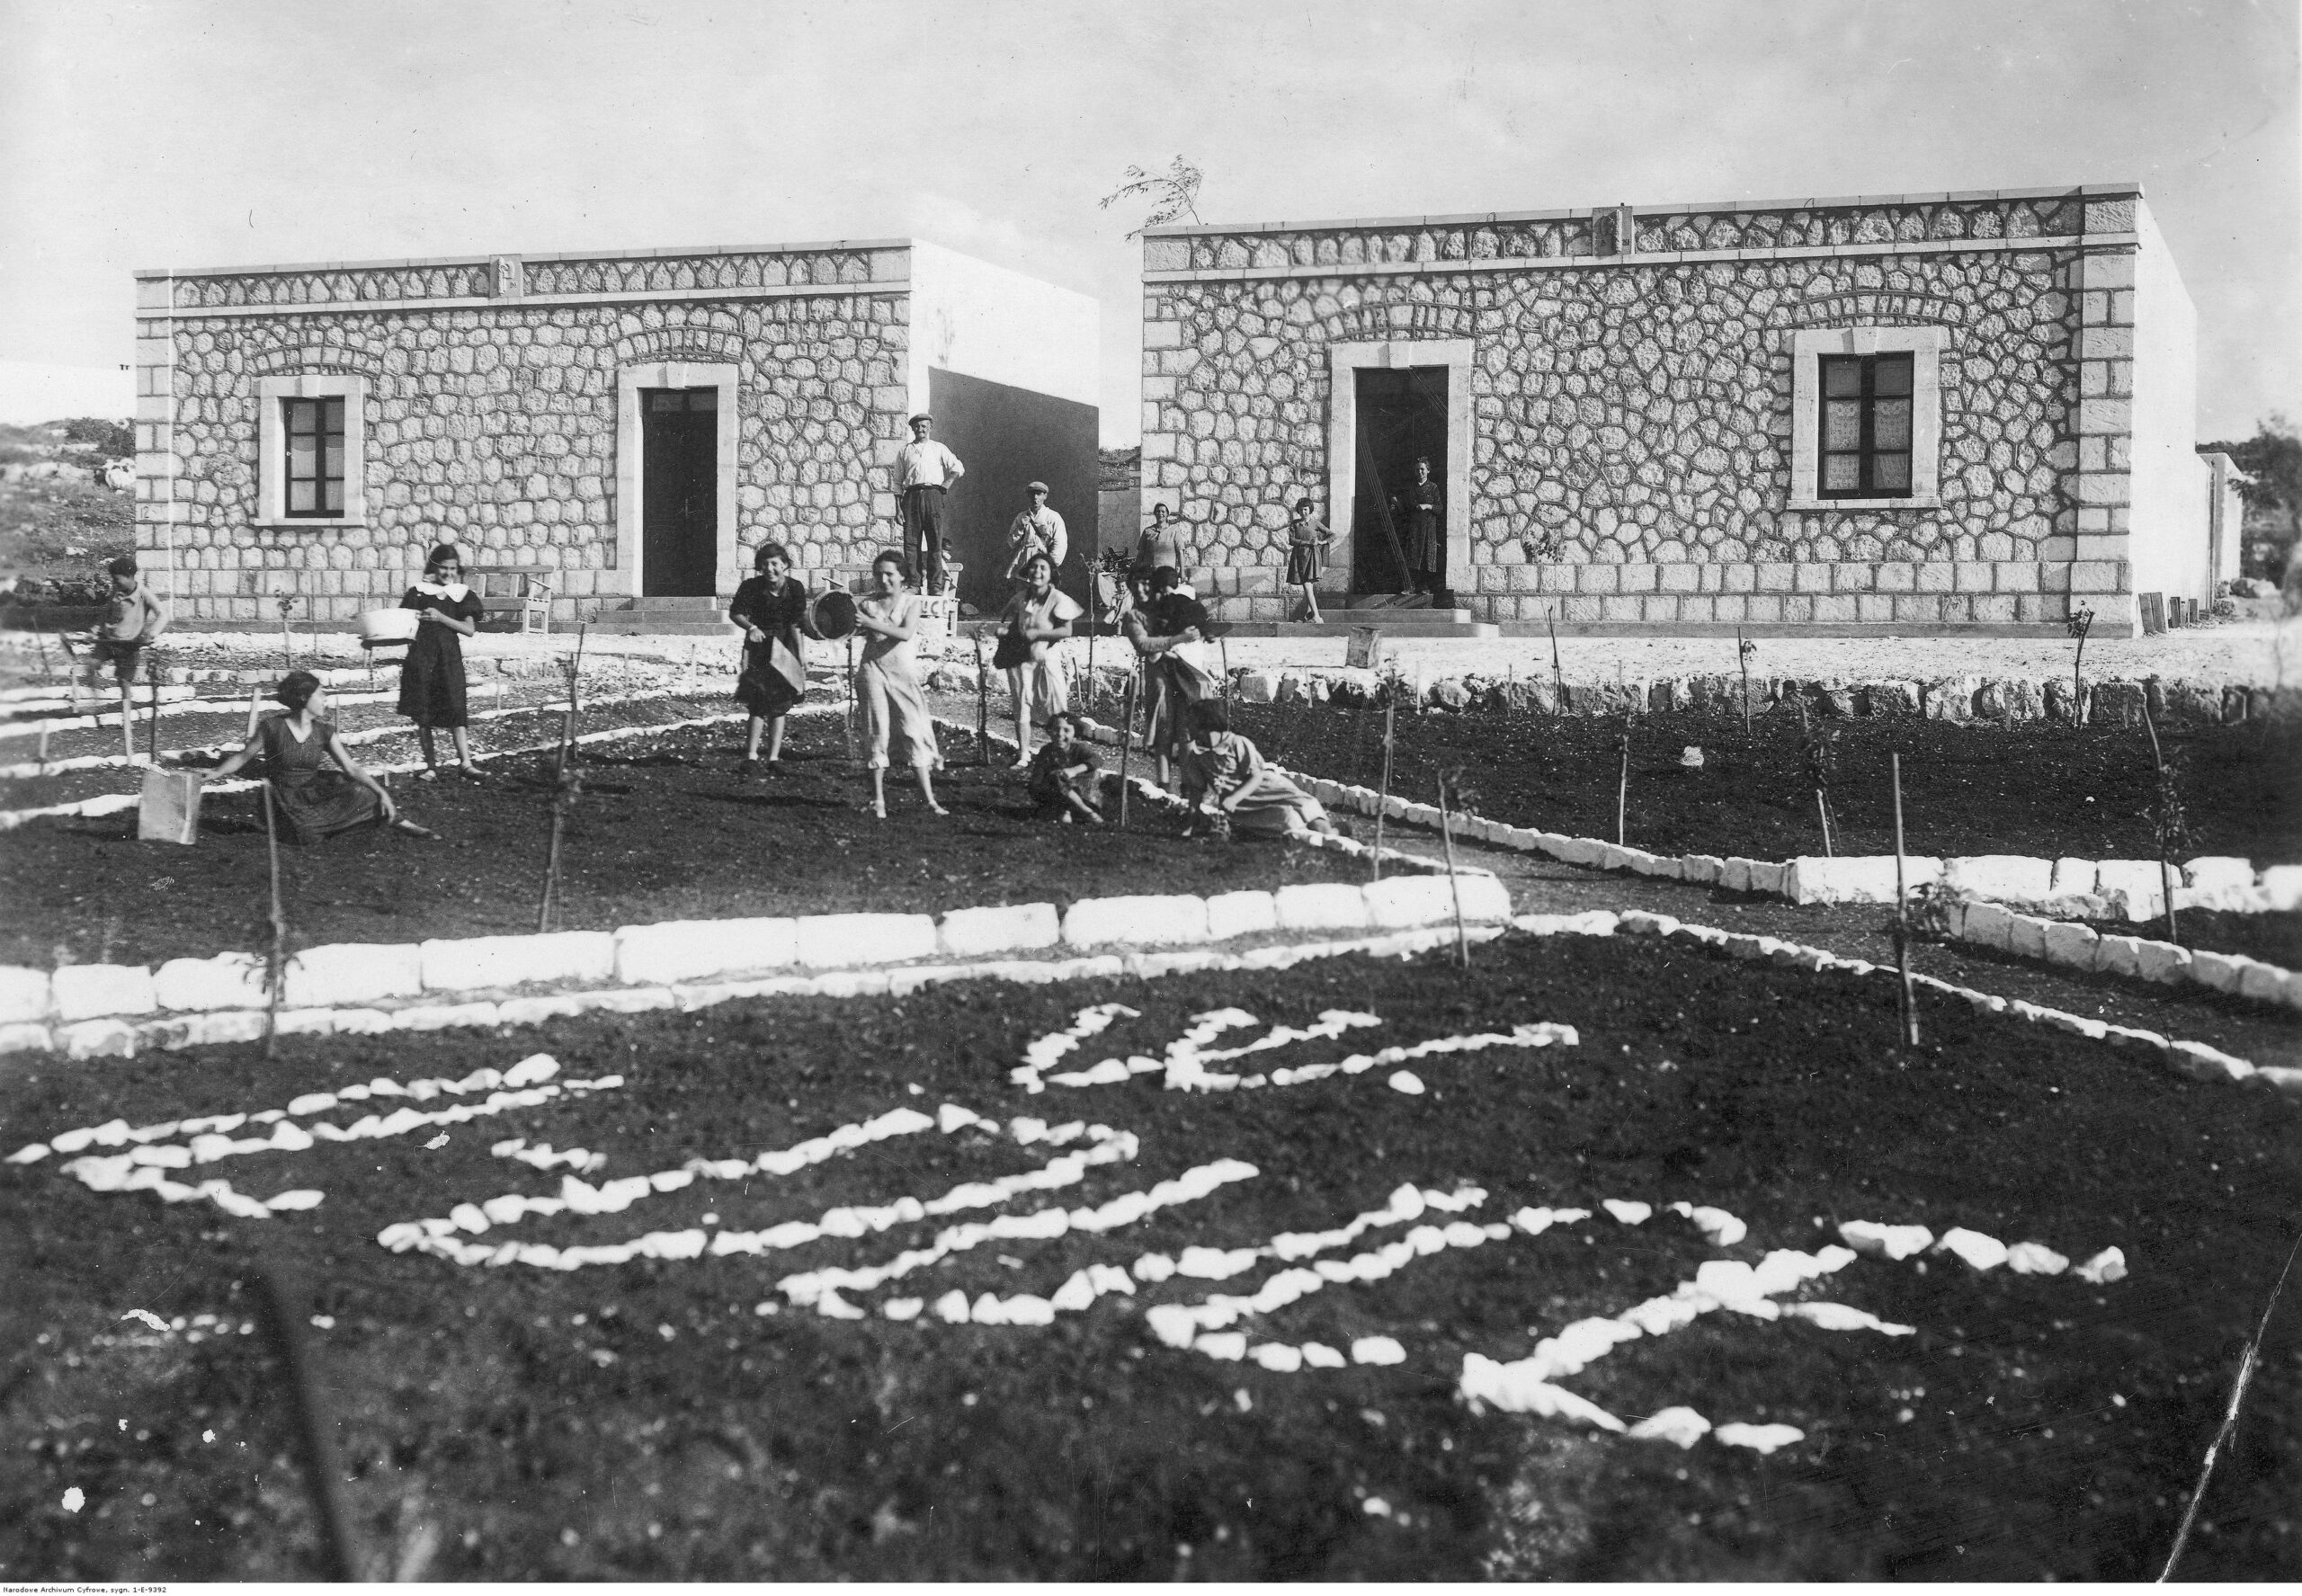
Crusader is largely forgotten now, but it was the costliest battle of the war for 2NZEF, with 879 dead and 1500 wounded, and the Div was transferred to Syria to recover. At that time the Allied High Command was concerned that the Germans could attack down through Turkey and threaten the British position in Egypt, so the Div spent much of its time there training and working on defences — although the troops certainly enjoyed the break away from the desert. Cliff wrote about his time there recovering from his wounds, and his visits to a Jewish settlement, the beach scene at Tel Aviv, the Damascus market and so on. It was eye opening for the Hikurangi boy and his mates.
Crusader wasn’t a one-sided victory, but it did force the Axis to withdraw from Tobruk and retreat all the way back to El Agheila again by late December 1941.
§
No blood
What’s missing from that account is the blood, death and destruction. Cliff’s account of Sidi Resegh will give you a taste — what it was like for one bloke, one night, shot up and under fire with a mate — lying flat to the ground, dragging a third man who turned out to be dead by the time they got back to the NZ lines.
If you’ve read Cliff’s story and are still thinking of it like an online video game, picture this — a cargo shop crammed with 2000 Allied POWs on their way to Italy, torpedoed off the Greek Coast, her stern lifting as the forward hold fills with water:
Many bodies, both dead and living, with the latter helpless and struggling, were sucked into the threshing propellers, where they were cut to pieces and flung high into the air… Bodies and parts of bodies were strewn on the deck and in the shallow scuppers… Booms and riggings, planks and bent iron, and huge uprooted girders crushed and mingled with the remains of men. But to those who knew the carnage of battle, one thing was shocking — there were dismembered bodies, battered limbs and scalped heads, yet there was no blood. It was unearthly.4
No blood — who’d have thought?
Imagine being General Montgomery, investing 2,250 lives in the second Battle of Alamein alone, where Dad was again among the wounded. Men’s lives were the currency they invested — those and the endless streams of supplies pumped up to them — and the point was to invest well.
Many of the senior officers knew about it first hand, having been through WW1 as young men. Cliff’s CO Jim Allen was killed the same night that Cliff was wounded. Kippenberger was hit by machine gun fire. Freyberg had been wounded several times, and won a VC. He was shot again in ‘42. In 1914 Montgomery had been badly wounded while an infantry captain, shot through the lung and knee by a sniper and left for dead in no man’s land, his body covered by another man who was shot while trying to save him.
There were good investments, bad investments, foolish investments and cost overruns. And dreadful mistakes like those torpedoed POWs, and the inevitable “civilian” death and destruction — another word that covers a multitude of sufferings.
§
The lead-up to the Battle of Alamein
After Crusader it wasn’t long before Rommel asserted himself again. In a January 1942 counteroffensive he took advantage of the overstretched British forces to advance from El Agheila and retake Benghazi. By February, he’d reached the Gazala–Bir Hakeim defensive line, which you can see on the map above. There he halted until his forces managed to outflank 8th Army in the May–June Battle of Gazala, break through its positions after intense fighting and force it to retreat to its next defensive line at Mersa Matruh, roughly 900 km east of and around half that distance from Cairo.

In the “flap” that followed Gazala — there was real alarm that the Germans might reach Alexandria — the New Zealanders under General Freyberg were recalled from Syria and took up position inland of Mersa Matruh at Minqar Qaim. 6th Bde, to which Cliff was attached, was left in reserve back at the Maadi camp outside Alex, perhaps to form the nucleus of a new Division in case the main force was lost. That fear proved to be well founded. In another confused battle the advancing Germans cut the New Zealanders off from the rest of the Allied forces, Freyberg was wounded and command passed to Brigadier Inglis.

Brigadier Inglis decided that the only chance of saving the Div was to break through the ring of German forces blocking their way.
In the early hours of 28 June 1942, the New Zealand Division, led by 4th Brigade, burst through enemy lines, using their bayonets to telling effect in the savage hand-to-hand fighting that ensued. As the attack proceeded, the majority of the division slipped through a gap further south.5
By that time Tobruk had also fallen, delivering Rommel a major port and a large haul of supplies, and the Axis advance continued. Rommel’s forces crossed the frontier and reached El Alamein on June 30, 1942. The First Battle of El Alamein followed in July. This (defensive) battle halted Rommel’s advance towards Alexandria and the Suez Canal, and set the stage for the Second Battle, in October–November 1942, almost a year after Operation Crusader.
After Minqar Qaim the New Zealanders fell back to the Alamein Line, where they fought three actions as part of the First Battle: Ruweisat Ridge in mid July, El Mreir a week later, and Alam Halfa at the end of August. Once again they suffered badly.
Ruweisat Ridge, El Mreir and Alam Halfa

Ruweisat Ridge was a rocky outcrop just south of El Alamein, which at its highest point gave a commanding view over the surrounding flat landscape. Two battles were fought there. The first, on the 1st and 2nd July, saw a “scratch force” of Indian, South African, Gurkha and other infantry, antitank guns and artillery manage to hold back Rommel’s Panzers, which were trying to break through Allied lines and push on to Alexandria.
The Battle of Ruweisat Ridge that New Zealanders remember was on the 15th, an action to take the high ground. Then, and again at El Mreir a week later, the New Zealanders seized their objectives after successful night assaults. But on both occasions they were left unsupported by British armoured units, and when German tanks appeared they had no choice but to surrender.
Alam Halfa (30th August – 5th September) was Rommel’s last attempt to reach Alexandria — by breaching the Allied minefields, and outflanking the Allied forces before they had time to regroup, while he still had momentum. Unfortunately for him, ULTRA intelligence allowed the Allies to predict his movements and they attacked his columns effectively with artillery and air attacks. As Rommel began to withdraw, 8th Army’s new Commander, General Montgomery, decided to counterattack in an operation that included the NZ 5th Brigade. The overall attack was unsuccessful, meeting unexpected resistance from the Germans and with an Allied tank attack stumbling into a minefield. The New Zealanders suffered 80 killed, 300 wounded and 70 taken prisoner.
Montgomery decided to cut his losses and focus on rebuilding.
§
Cliff’s luck was definitely looking up back then. He completely missed the action at Minquar Qaim and Ruweisat Ridge because 6th Bde didn’t rejoin the front line until the day after Ruweisat. He was in the thick of it but unharmed at Alam Halfa, and he missed capture at El Mreir by the luck of the draw.6 He was less lucky at Alamein.
§
The Second Battle of Alamein
If you bear in mind the fundamental realities of the desert war I’ve described — the wide open spaces, the need for mobile power, the choke points, the ports, the coastal road, the long supply lines — it was obvious the coming battle would be very different from Crusader the previous year.
First, with only 40 miles between the Mediterranean and the Qattara Depression there would be no armoured columns manoeuvring over vast open desert.
Second, General Montgomery was in no rush to take the fight to Rommel. 8th Army was rebuilding, with new units untrained, unused to desert conditions and unprepared for the offensive.
Third, the old strategies against Rommel hadn’t worked. 8th Army needed the resources, not just to beat him at Alamein and drive him back to El Agheila for the third time, but to punch him all the way to Tripoli, and then to Tunis and final defeat. And Rommel’s disadvantage at Alamein — the long supply lines — would be Montgomery’s then.
Fourth, Montgomery couldn’t afford to let the allied tanks be taken out again by premature attacks on Rommel’s anti-tank screen, headed by the much feared 88s. He decided to attack Rommel’s other forces first, then the armour, or to let the enemy attack Montgomery’s own armour and anti-tank guns. The NZ Official History quotes Rommel as complaining that “the swine isn’t attacking!”
Instead Montgomery built up and trained his forces, and accumulated supplies for a frontal attack in October.
§
Battle plan
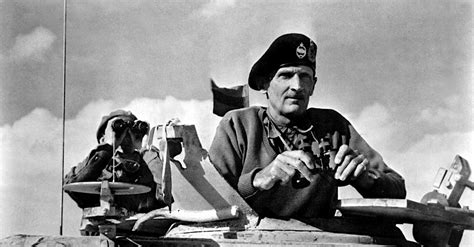
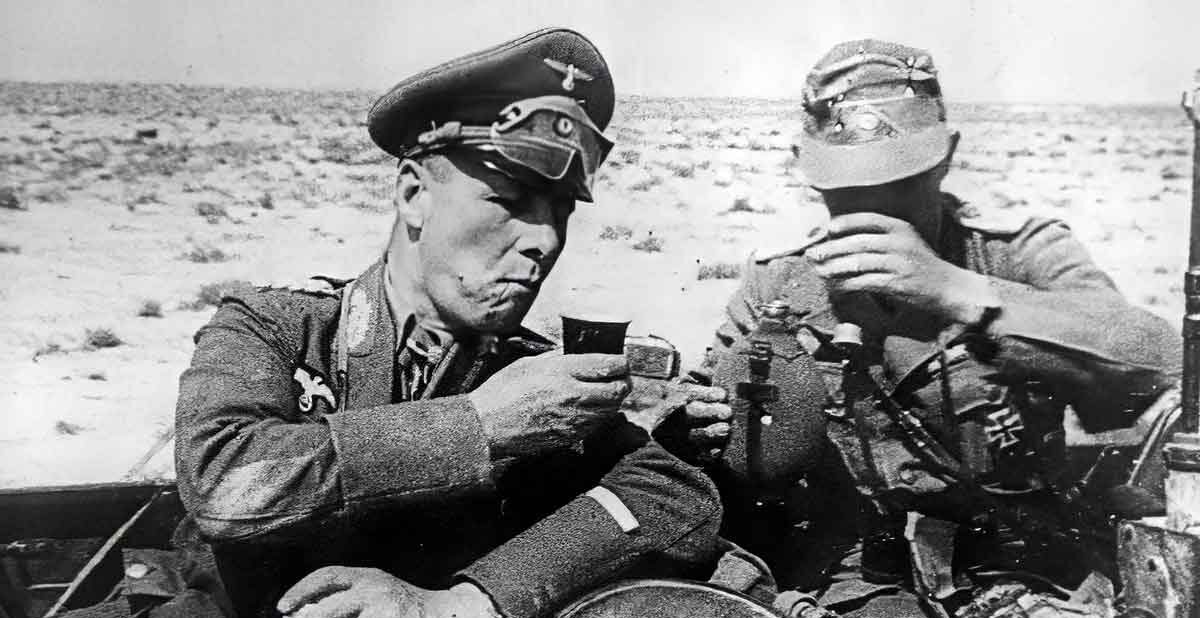
It’s worth spending a little time on the planning for this battle — although I’m not going to dive into the messy detail, you’ll be pleased to know. There’s certainly plenty to read if you’re keen — 60-odd pages detailing the first night in the official New Zealand History alone7, and probably as many pages more about what actually happened. You’ll be reading and cross-referencing to maps and appendices until your head aches, and you may still come away disappointed. I thought I’d look for the unit Cliff was attached to that day, the 8th NZ Field Company, NZ Engineers, but they didn’t get a mention. They engineers were operating with 24 Battalion, and I had to go to the Battalion history to understand what happened to them, too.
But back to the plan, and the fundamentals.
There were only two big secrets that Montgomery could hope to keep from the enemy — when the attack would come, and where — and he took great pains to deceive the enemy on both points. First, plans were disseminated down the ranks only as they needed to know. For example 2NZEF practiced the complicated manoeuvres they’d need to perform on the first night, but not why. Lower ranks weren’t told anything — in case they were captured on patrol, or talked too much on leave in Alex. Once they reached the front they had to stay there.
Dummy vehicles, guns, tanks and supply dumps were set up along the front, and “serviced” by vehicular traffic etc so they’d look like the real thing while they were visible to the enemy during the day. Fake radio traffic, fake cooking fires etc completed the deception. Under cover of darkness dummy tanks and trucks could be swapped for the real thing, troops and stores brought forward for the attack, radio silence maintained, and the men instructed to stay under cover during daylight hours — while in other areas the dummies were set up again where the real things had come from.
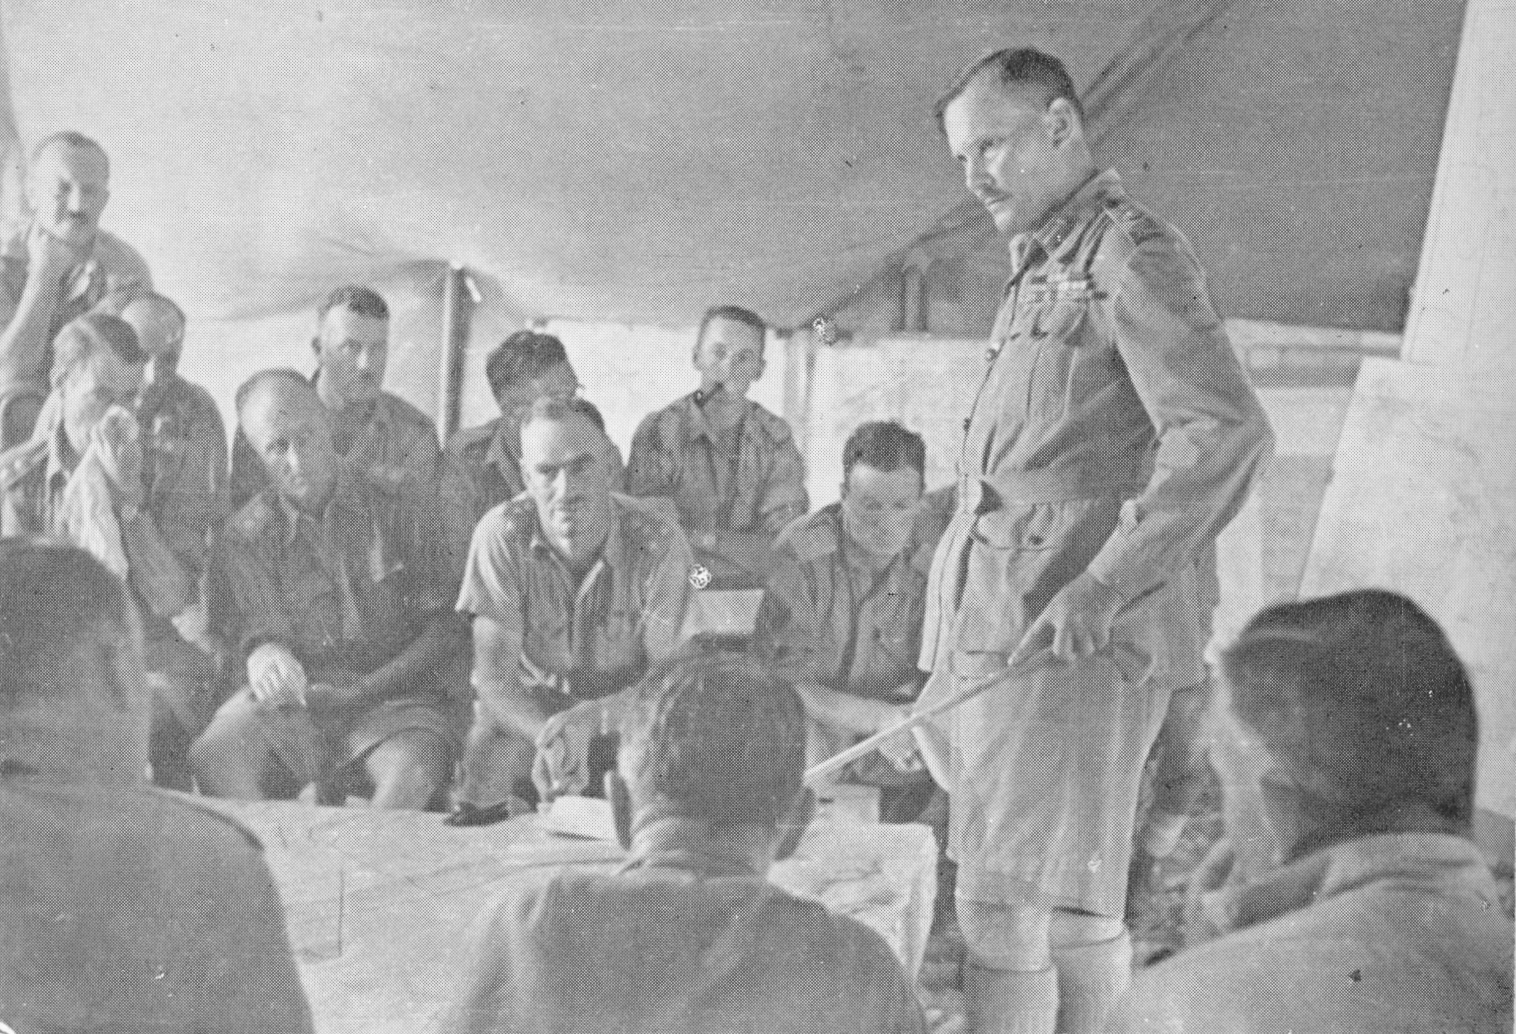
Just imagine the traffic management to make all that happen! Going into the battle Montgomery commanded an army of over 190,000 men from across the British Empire, Greece, Poland and France. It was equipped with over a thousand tanks, 430 armoured cars, 900 artillery pieces and 1,400 anti-tank guns that all needed to be marshalled and positioned — much of the time under cover of darkness — across and behind that 40 mile front.
The deception was largely successful. According to the NZ History, “the enemy was unaware of the vast movements taking place in the three or four nights preceding the offensive” despite several units “reporting difficulty in preventing unauthorised transport movement, and in keeping their men from appearing above ground in areas over which the enemy should have had good ground observation.”
§
Operation Lightfoot
2NZEF was one of the five divisions charged with leading Operation Lightfoot, the massive night time attack that opened the Second Battle of Alamein. Their role, in the face of the artillery and machine gun fire etc that would rain down on them, was to clear paths through the minefields so the armour could pass through before dawn.
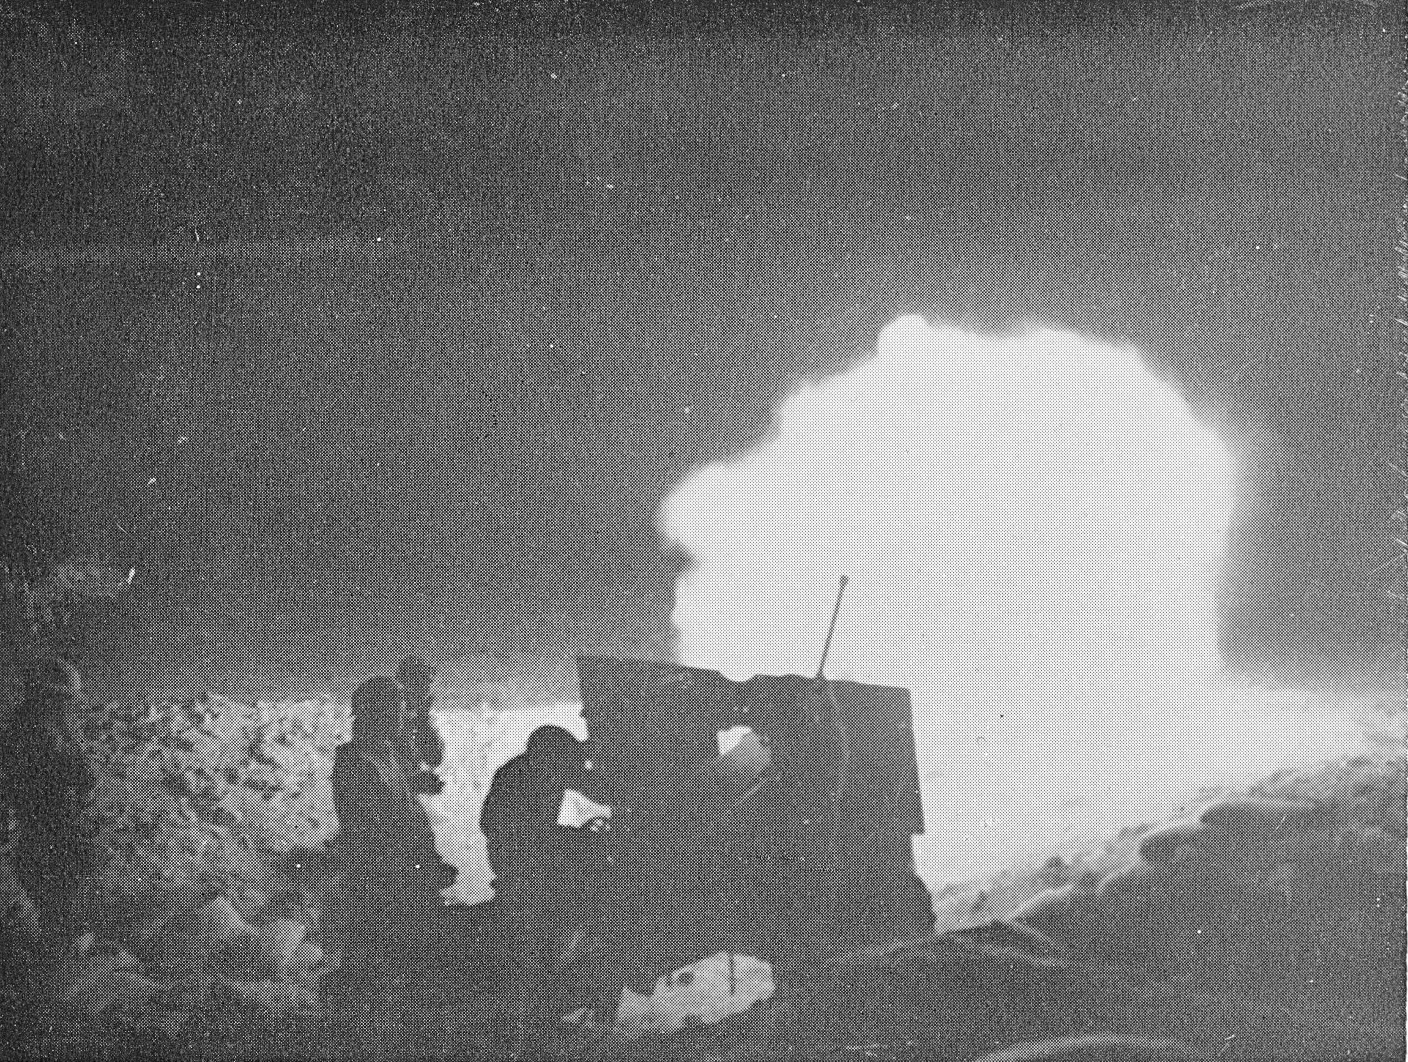
The artillery would start the attack by bombing the hell out of the general area over which the infantry would advance, then shift to a “creeping barrage” that moved forward at a rate of 100 yards every 3 minutes, being the rate it was assumed the infantry could advance. Too fast and they moved into the line of shells, too slow and the surviving enemy had time to re-emerge and start firing.
The engineers would follow behind the infantry and clear “tracks” for the tanks to advance down to take up the fight on the other side. The barrage would start at 9.30pm and the armour needed to be through the minefields by day break (about 6.45 am) or they’d be sitting ducks — which is why it was decided that the tracks could only be wide enough for one tank at a time.
Traffic management was just as important during the attack. Exactly where the lanes through the minefields would go, where the lines between units would lie, and how they would be marked. What would happen if you hit your marks but the neighbouring unit failed. And how you would coordinate with your artillery if things didn’t go as planned. In the dark, under fire.
And again, traffic had to be pre-planned and managed, up to and through those tracks. And not just for tanks — there would be “signal detachments laying cable, anti-tank guns… 3-inch mortar carriers, Bren carriers, Vickers gun sections in trucks, RAP vehicles, and numerous trucks and jeeps carrying essential equipment and stores”.
§
That was the plan for the first night of a battle that Montgomery saw progressing in three phases. The initial break-in would be followed by the dog-fight — the “crumbling” of Rommel’s forces and fortifications behind the minefields — and finally the break-out, as 8th Army chased whatever enemy they hadn’t been able to capture or destroy back West towards Tripoli and Tunisia.
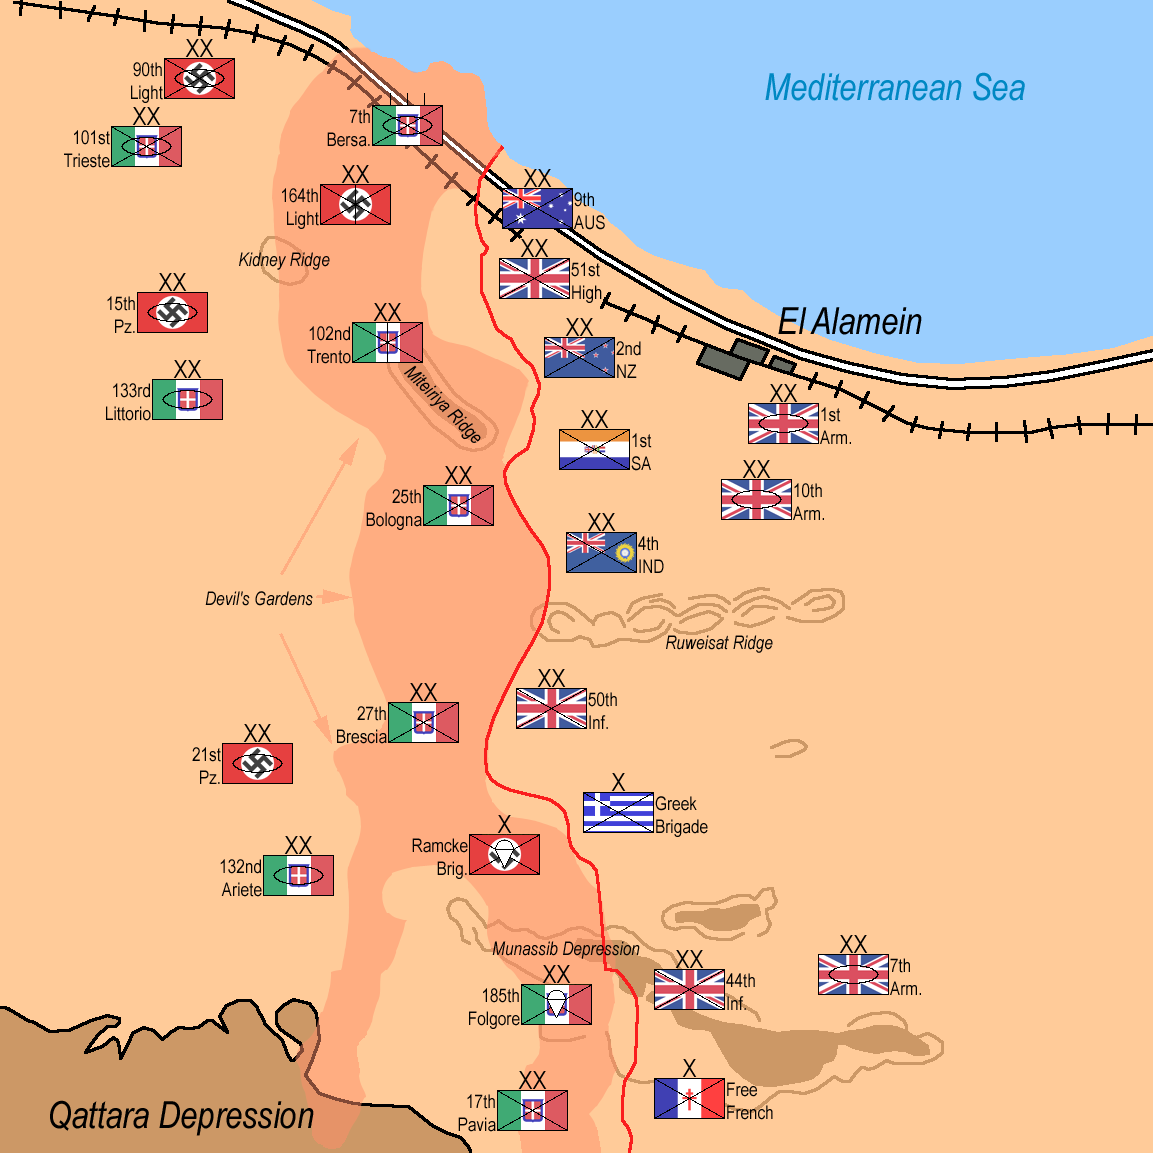
Rommel had failed to knock down 8th Army to get to the Suez Canal, but Montgomery would have to do the same in reverse to drive Rommel out of Egypt. And Rommel could still marshal something like 116,000 men, 550 tanks, 550 artillery pieces and 1,000 anti-tank guns, supported by around 350 serviceable aircraft. His disadvantage was that, at the very end of those long supply lines, he was short of fuel and ammunition. That meant he couldn’t train, and had to position his armour close to the front in an effort to cover every eventuality, because he didn’t have the fuel to manoeuvre his tanks in order to to counter incursions or grab opportunities as effectively as before.
This was to be a battle of attrition. Quite brutally, Montgomery could, at worst, trade tank for tank and man for man and still win. The Axis had been turned back in First Alamein but not much diminished, and they’d laid half a million mines across their front, in fields that were kilometres deep. These were primarily Teller anti-tank mines with a trigger weight heavier than the average man, which is why the Allies had decided infantry could attack across the fields before the engineers had lifted the mines. The engineers faced their own dangers, with many mines armed with booby traps and anti-lift devices. And the fields were also salted with anti-personnel S-mines, which jumped to waist height before exploding to spray shrapnel in all directions.
§
Miteiriya Ridge
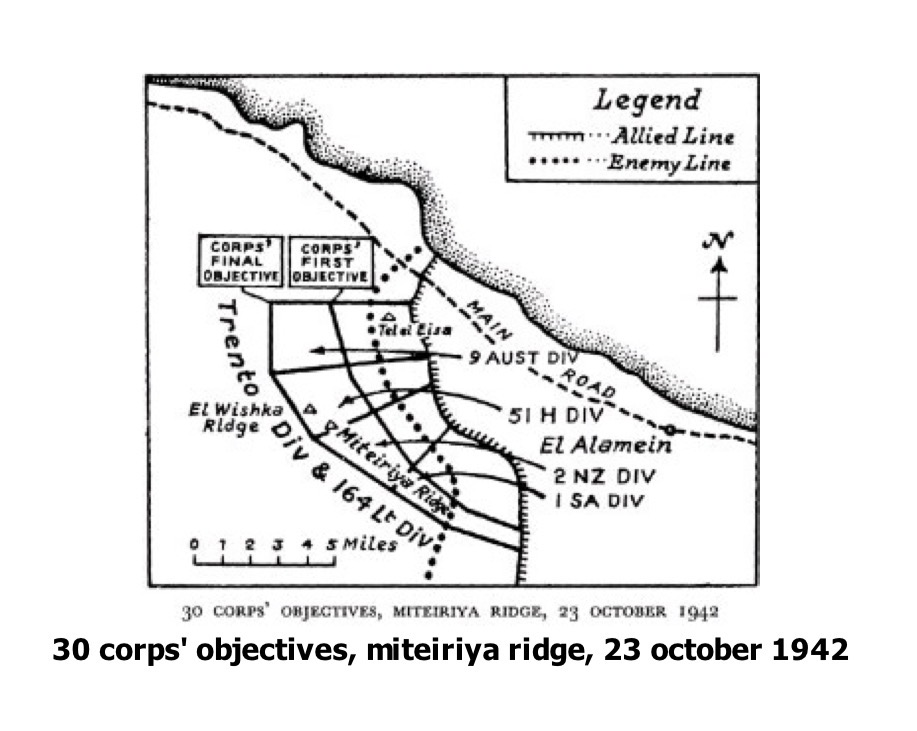
2NZEF’s particular objective was the higher ground of a feature called Miteiriya Ridge, and Cliff describes the noise of the thousand gun artillery barrage that began the attack. He was manning the radio for Major Murray Reid, the CO of 8th NZ Field Company, the engineers responsible for clearing mines for 6 Brigade (24, 25 and 26 Battalions) on the left of the NZ sector, next to the South African Division.
24 Bn’s job was to lead the attack as far as Brigade’s first objective, at which point a different section of Major Reid’s engineers would take over clearing the mines behind 25 and 26 Battalions as they pressed on to the Brigade’s final objective. At least that was the plan. When they were into the enemy’s minefields Cliff was wounded in the neck by shrapnel, and Reid, a remarkable man, personally bandaged him up so he could continue manning the radio for a few more hours before being evacuated.9
A couple of incidents in the official history are reflected in Cliff’s story — when “one sapper section [i.e. engineers] met a group of South Africans who had suffered severe casualties, possibly from one of the supporting artillery concentrations, and gave what help they could, and the other section was caught in a major explosion, losing four men killed and 12 wounded.” In fact, as the quote above obliquely suggests, and Cliff more directly, the South Africans had probably been hit by Allied shellfire — Cliff thought his own injury was from a 25-pounder. In the second incident, one of the sappers had triggered the trip wire of an unexploded 500-lb bomb.
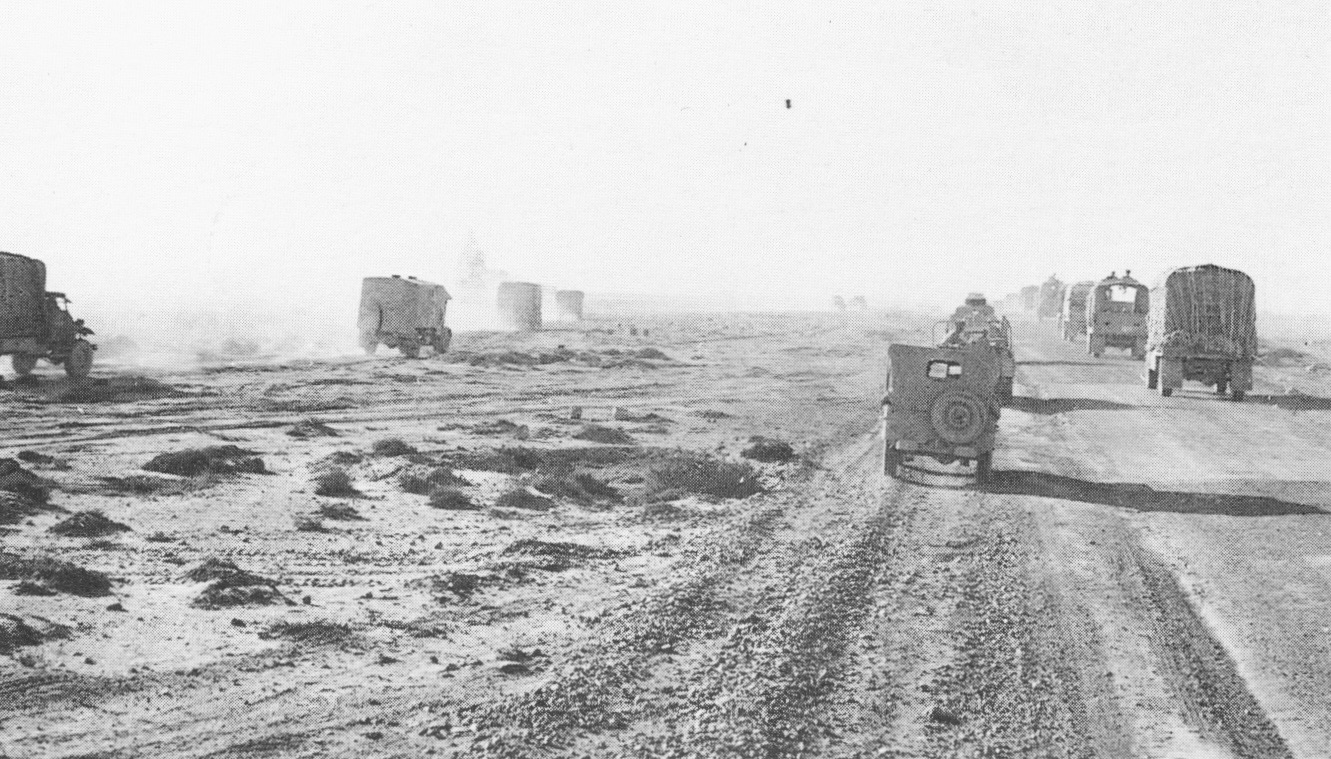
A passage in the official history describes the tumult on the tracks through the minefields:
As each lane progressed, a dense column of vehicles gradually banked up on it – signal detachments laying cable, anti-tank guns on portée or towed, 3-inch mortar carriers, Bren carriers, Vickers gun sections in trucks, RAP vehicles, and numerous trucks and jeeps carrying essential equipment and stores. First came the support columns for the two battalions on the first objective and, as these dispersed off the marked route, the columns for the other four battalions passed through. With these latter were Crusader troops of 9 Armoured Brigade for the infantry’s support against counter-attack, and behind them again came the Stuarts and Bren carriers of the [NZ] Divisional Cavalry and the heavy squadrons of 9 Armoured Brigade.
The dust raised by all the traffic could reduce visibility drastically, and while the narrow lanes may have been a necessary compromise, they certainly caused problems. A single disabled tank could stop the entire convoy:
Traffic discipline on the whole was good, though at points the narrow minefield gaps became jammed and vehicles were lost when attempting to take short cuts over uncleared ground, led by impatient support group commanders who knew how vulnerable their battalions might be unless their weapons arrived before dawn.
§
The New Zealanders felt they’d done well despite the bedlam. The Engineers proudly claimed an “outstanding effort” as “the only Sappers from the Divisions to clear their lanes to the objectives of their infantry battalions.” But in the briefest of summations NZ History wrote:
While the New Zealanders seized their objectives, the overall battle did not develop as Montgomery expected. Congestion, poor coordination and cautious leadership prevented Allied armoured units from taking advantage of gains made by the infantry.
And success had come with heavy casualties. The initial estimates were for 420 New Zealanders wounded or missing and 41 killed. Add those to the similar numbers lost a few weeks earlier at Alam Halfa.
The total loss in 30 Corps was … thought to be in the vicinity of 2000 men all told, a total not considered unduly high for the results gained on the first night. Yet the losses, coming as they did mainly from the effective riflemen of the infantry battalions, were felt heavily in the New Zealand Division with its seven under-strength battalions.
§
Breakout
Whether or not Montgomery underestimated the Axis defences, or the armoured units were overly cautious in their advance through the minefields, if their goal was the mass ‘break-out’ of the armour, formed up and ready for action forward of the ground the infantry had taken, it wasn’t successful. Maybe it was never realistic, but in any event it meant the element of surprise was gone, and the German command had a little time to recover and respond.
What followed was a week of expensive attack and counterattack — that battle of attrition the Allies would almost inevitably win — before Montgomery launched a new attack, Operation Supercharge, which in terms of strategy was basically a repeat of Lightfoot. It began the night of 1-2 November with the British infantry brigades opening a breach down which British armour could pour to attack the German tanks. There were heavy losses on both sides, but by the end of the following day the German armour was running out of fuel, and — despite Hitler’s orders to ‘stand fast’ — Rommel decided to withdraw. Many Italian troops, once again without adequate transport, were taken prisoner.
Take another look at the map. The Axis retreat was so rapid that by the time Cliff headed back to the front on Boxing Day 1942, having recovered from his neck wound, his contingent could go by ship to Benghazi. When he wrote to Dorothy on the 10th of January he was “somewhere in Tripolitania” while “sitting on a blanket in the sun clad in his undies”. In the 2-1/2 months since he’d been wounded at Alamein, just 60 miles or so from Alexandria, 8th Army had driven the enemy back 1100 miles (1800km) or more. They were now on the verge of taking Tripoli and about to pursue Rommel on into Tunisia.
§
Victory
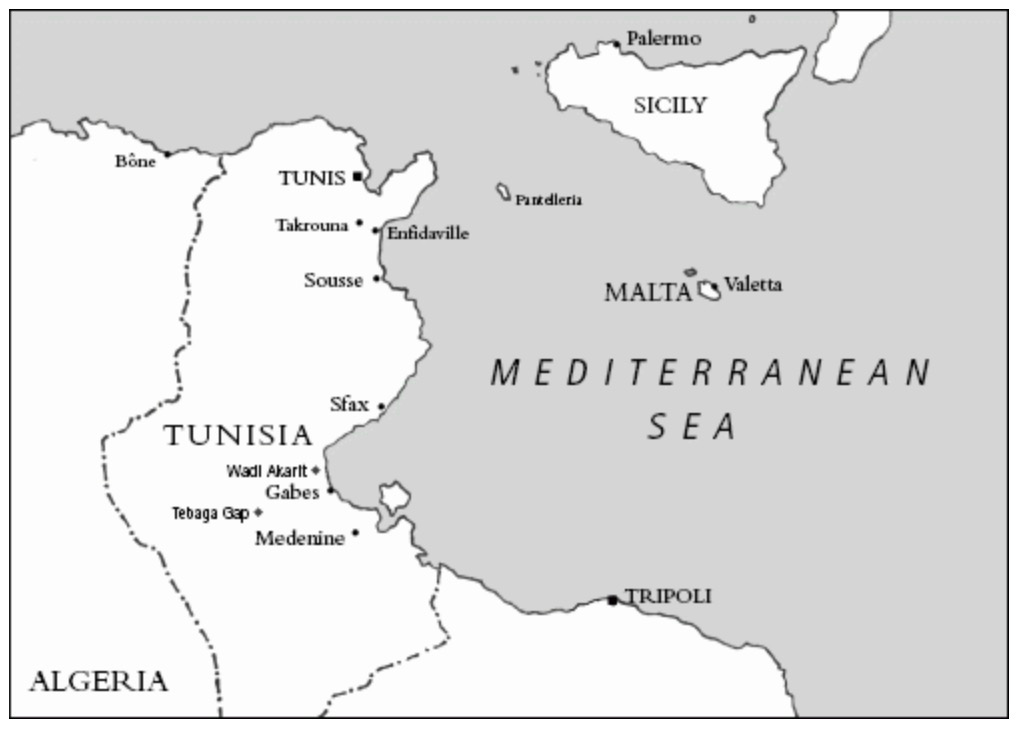
2NZEF had played a supporting role in Operation Supercharge, and also participated in some relatively minor actions along the way, but its next major operation was at the Tebaga Gap, inland from the Mareth Line between Medenine and Gabes, and well into “French” Tunisia.
By then the Germans had lost Tripoli, until then their major port, and were being supplied through Tunis. Their position in North Africa had been furthered weakened when Anglo-American forces landed in Vichy-French Morocco and Algeria in November 1942. To meet the new threat, Axis forces poured into Tunisia, forming a new army commanded by General Hans-Jurgen von Arnim. From November on the Germans and Italians were fighting on two fronts.
§
The Mareth Line was similar to Alamein in the sense that it was a narrow, defensible front between the sea and an impassable natural feature — impassable to armour at least — in this case the Matmata Hills and beyond that the Djebel Tebaga. Tunisia being a French colony and Libya Italian, the Mareth had also been fortified in the 1930s by the French along the line of a wadi, another natural tank obstacle.
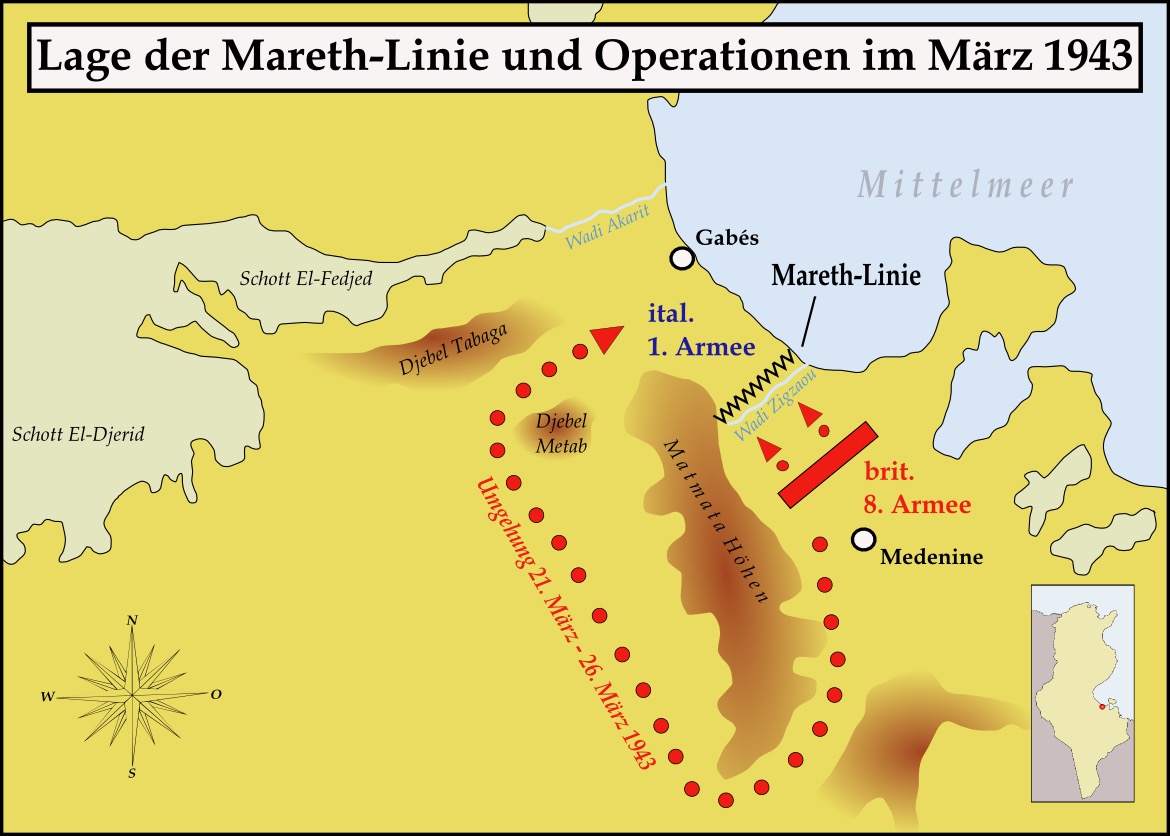
However the Allies had two advantages — access to the designer and commander of the French defences, and reconnaissance by the Long Range Desert Group, which had discovered a practical route via passes through the hills, culminating in the Tebaga Gap.
This created the opportunity for the famed Left Hook, whose goal was to surprise the outflanked Axis defenders of the Mareth Line and cut them off, as the map illustrates. 2NZEF, heavily augmented0, was to advance in three stages — two arduous night marches of 20 and 40 miles ending just short of the Tebaga Gap, then the capture of the entrance to the Gap at first light on 21 March or as soon as possible afterwards. They would then advance to El Hamma, north of Gabès.
The Gap was only lightly defended, and when they reached it Kippenberger wanted to attack immediately. But Freyberg was hesitant, and wanted to prepare his forces carefully. Two things happened in the consequent delay that turned Tebaga Gap into a major fight. The Germans had time to bring up reinforcements, and Montgomery, having been beaten back on the Mareth line, decided to focus instead on the “Left Hook”. The next British attack began on the 26th, this time with an intense bombardment of the Germans by artillery and from the air, and with British tanks supporting the original 2NZEF force. It was successful, but only after bitter hand to hand fighting on the Maori Battalion’s objective, where the tanks couldn’t engage due to the terrain.0
By the 29th 8th Army had taken Gabès on the coast.
§
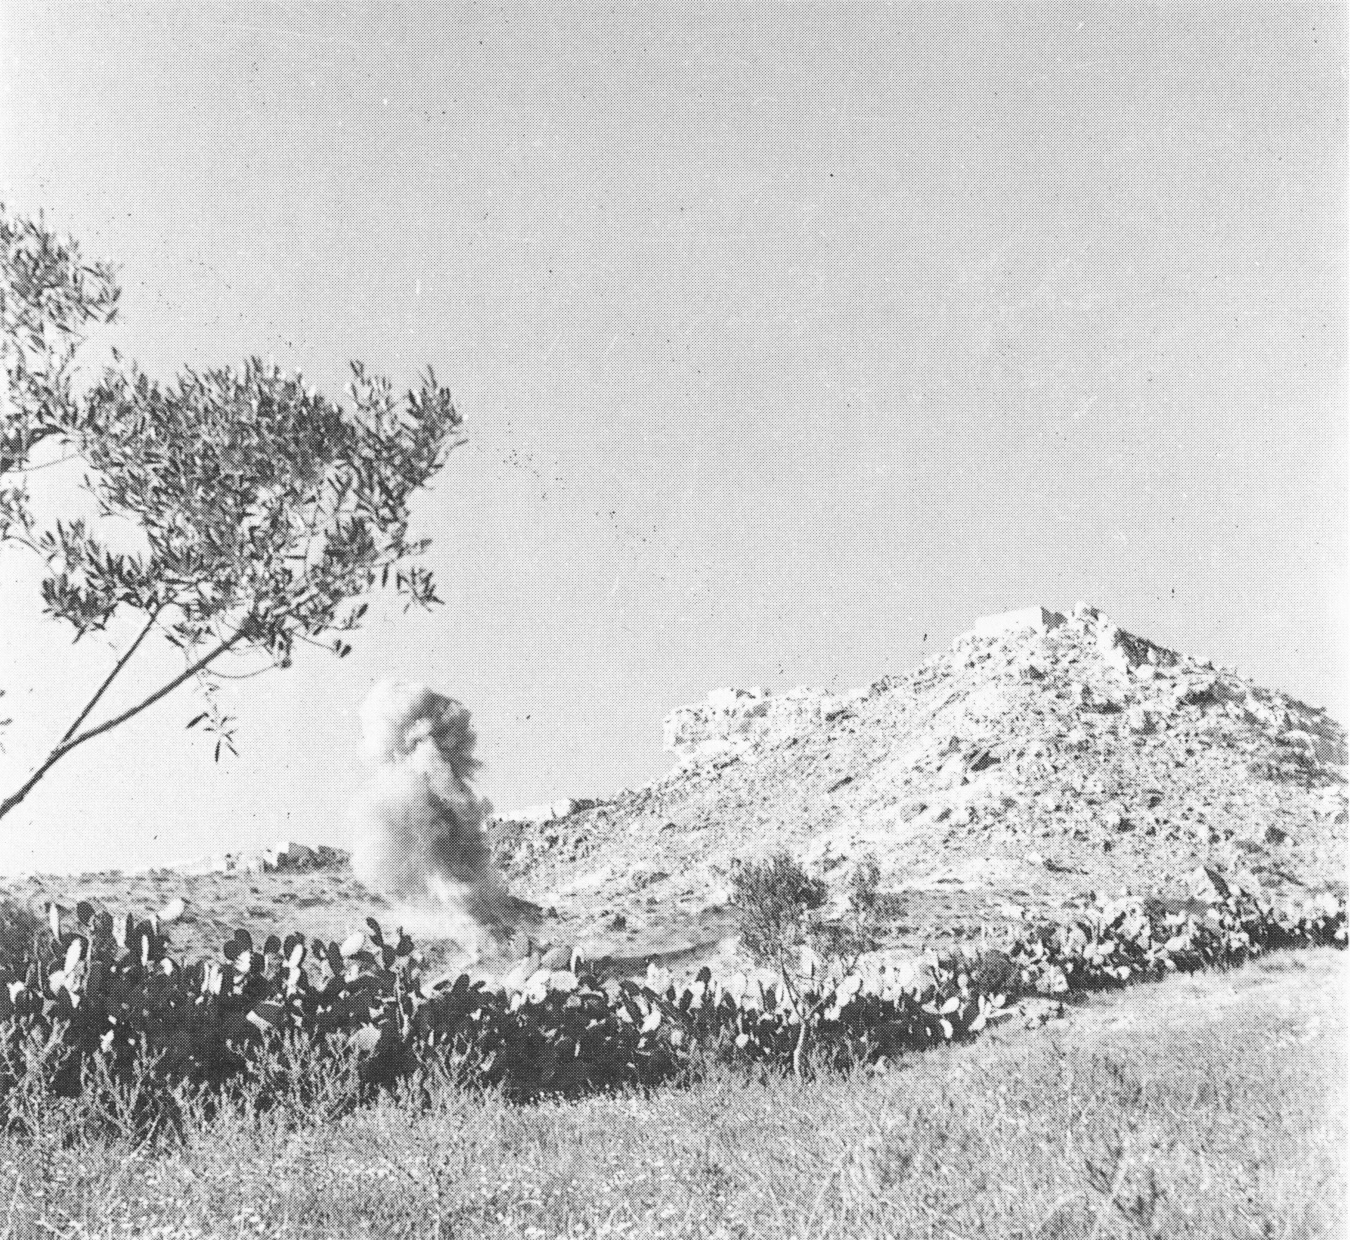
On 19-20 April, in the last days of the campaign, the Div set out to clear the foothills between Enfidaville and Takrouna, south of Tunis. While 6 Brigade achieved its objectives without too much difficulty, 5 Brigade suffered heavy casualties as it pushed forward in an area dominated by Takrouna, an outcrop of rock rising steeply from the plain at the end of a ridge. Troops from 28th (Maori) Battalion managed to scale the heights and seize the summit after fierce fighting, but determined counter-attacks forced them off until it was retaken on 21 April by a small group in an action that one senior British commander called ‘the most gallant feat of arms’ he saw during the war.
§
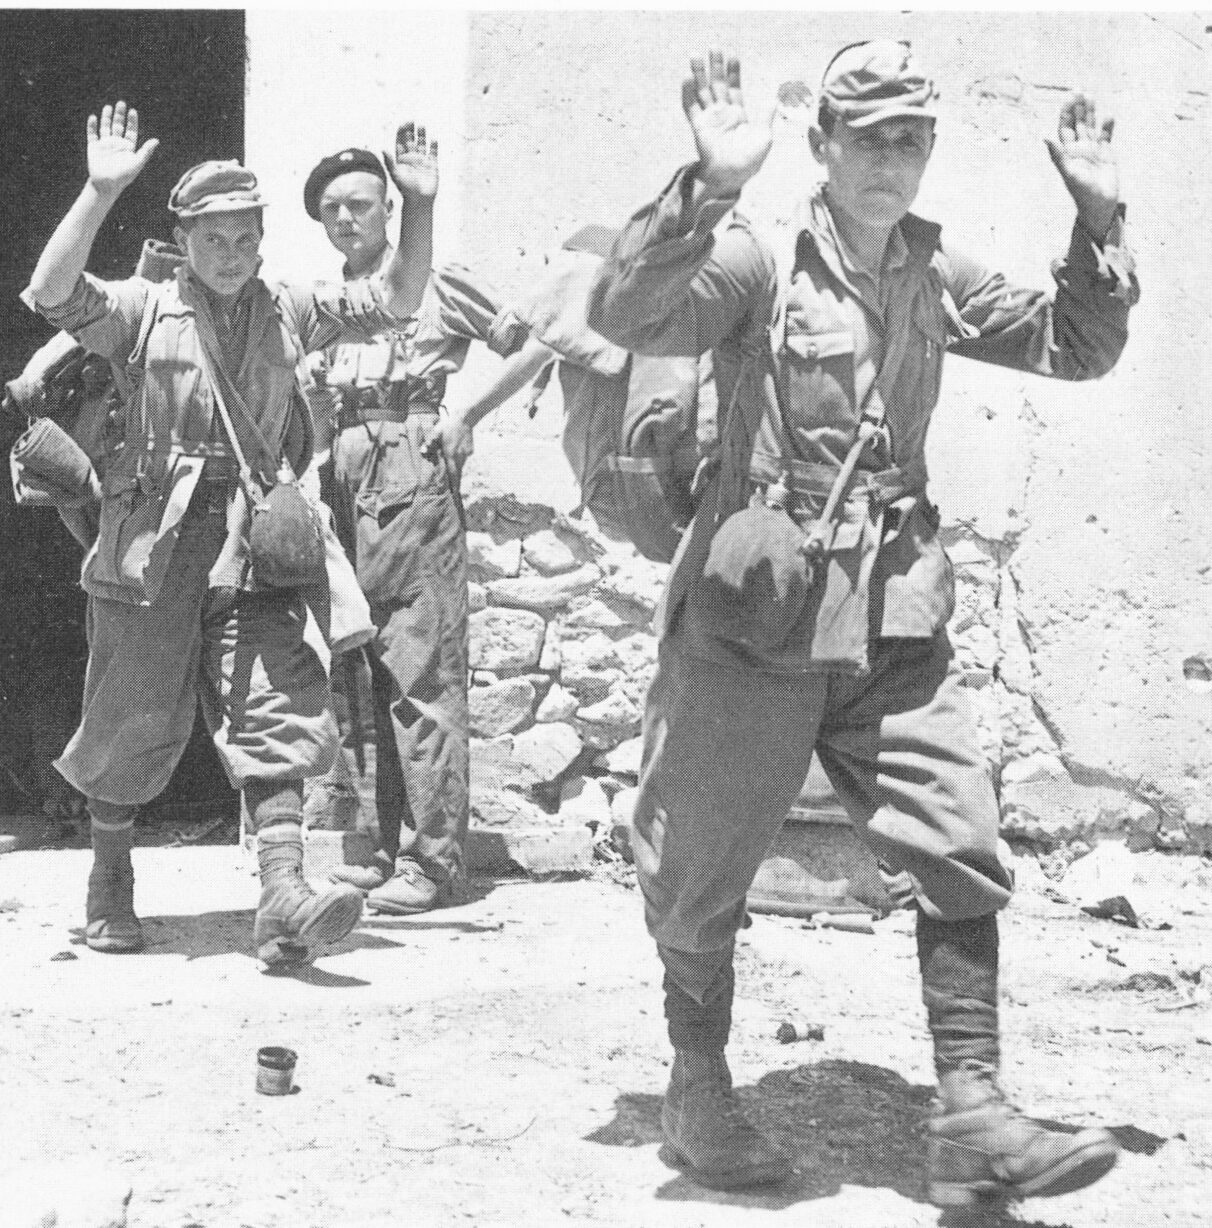
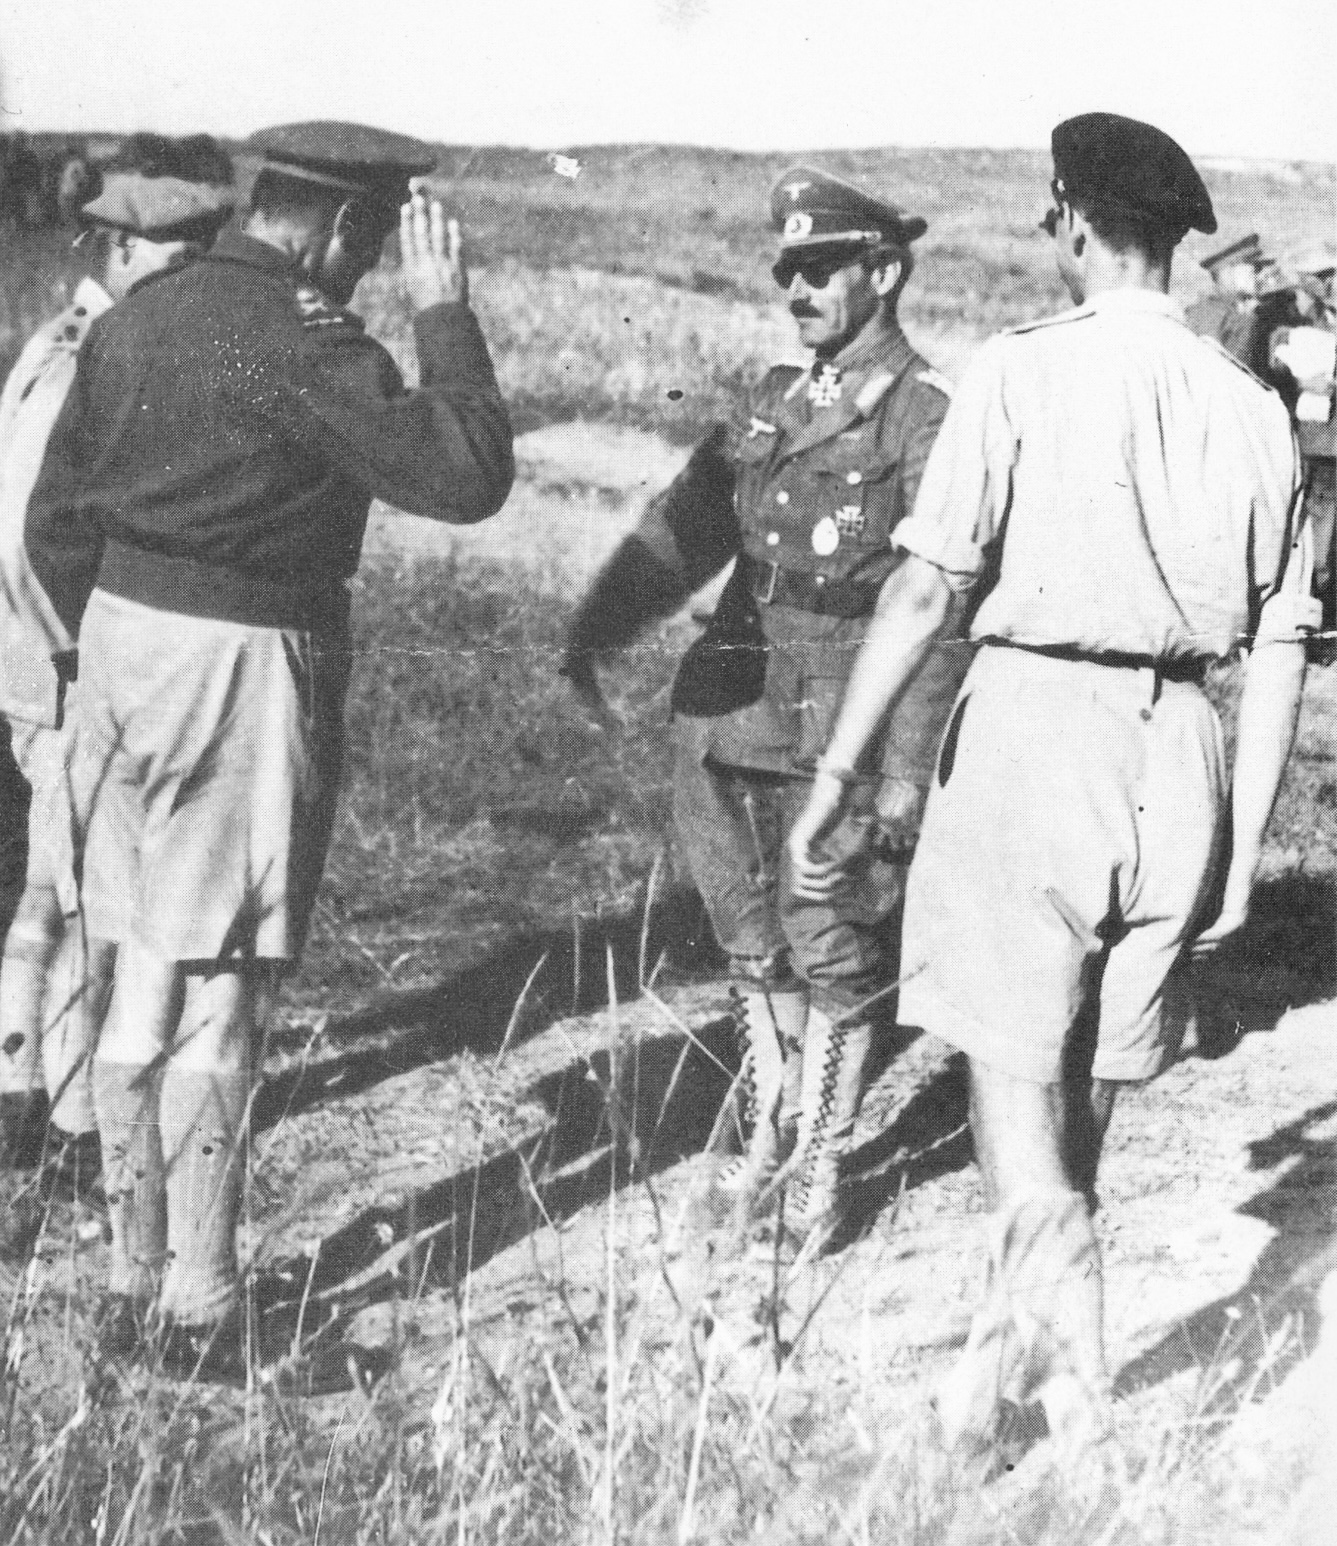
On the 12th of May Cliff wrote in his diary that the enemy ceased organised resistance from 10 pm that night, and on the 13th May the Axis forces in North Africa surrendered, a total of a quarter million troops, give or take.
Two days later the Div began the 1900 mile (3000km) journey back to Alexandria. Like many others Cliff never got to see Tunis, and the Div effectively by-passed the places they had fought so hard to take — Tripoli on the 20th and Benghazi on the 24th (they camped on the outskirts, and Cliff did manage to look around the town and Cathedral, “everything pock-marked with bomb splinters”). Then Tobruk on the 28th and Alamein on the 31st. On Tuesday the 1st of June they passed through Cairo with flags flying.
They were back in Maadi that night to very good news — married men and a certain percentage of single men from1st, 2nd and 3rd Echelons (the men who had fought in Greece and Crete) were to return home on furlough.
Where the rest of 2NZEF would go next was a mystery.
Footnotes
- There is no doubt that the achievement of every Italian unit, especially of the motorised forces, far surpassed anything that the Italian Army had done for a hundred years. Many Italian generals and officers won our admiration both as men and as soldiers. The cause of the Italian defeat had its roots in the whole Italian military state and system, in their poor armament and in the general lack of interest in the war by many Italians, both officers and statesmen. Quoted in Liddell Hart (ed), ‘The Rommel Papers’ (London 1953), pp.261–262.
↩︎ - Major-General Sir Howard Kippenberger, Infantry Brigadier.
↩︎ - J.F. Cody, 21 Battalion, p 130-1. Available online from the Victoria University of Welington.
↩︎ - Fighting with the Enemy: New Zealand POWs and the Italian Resistance, Susan Jacobs, p 20.
↩︎ - NZ History, Operation Crusader
↩︎ - When Cliff arrived back in Alexandria on 24th June, some units were held back, including his, perhaps for lack of transport. On the night of the Minqar Qaim Breakout he was actually on leave in Alexandria when there was an urgent call to report back for duty, and a mad scramble for transport. He definitely went “up the Blue” then, but on 12th July he wrote to Dorothy while on leave — again — in Alex. Just in time to miss Ruweisat Ridge on the 15th.
He was even luckier a week later. Brigadier George Clifton was OC 6 Brigade, and Cliff had been with him in various roles at least since the return from Syria. He and a signalman mate, Mick Mulvey, were by then taking turns as radio operators on Clifton’s Bren Carrier. Clifton and the driver would sit up front on hair raising reconnaissance patrols, with Cliff or Mick in the back with the wireless. Mick’s turn came up on the night of the El Meir attack. Clifton’s Tactical HQ was with 24 Battalion when it was completely overrun by German tanks. Some of the men escaped in vehicles, but about 200 who tried to get away on foot were captured. Clifton eventually escaped in 1945 (after nine attempts) but Mick died as a POW.
↩︎ - Alam Halfa and Alamein, Ronald Walker, Official History of New Zealand in the Second World War.
↩︎ - Walker.
↩︎ - Major Reid was quite a man. He’d already won a Military Cross at Ruweisat, as a Captain leading his men with “no regard for his own personal safety”. Ten days after the night of Operation Lightfoot, he won a second MC at Tel el Eisa in the “breakout”. Again clearing mine fields, he “calmly and freely moved among his men helping and encouraging wherever the fire was heaviest, and casualties were occurring. He personally went forward on most hazardous reconnaissances and on several occasions disarmed trip wires and booby traps ahead of the mine detecting parties.”
In mid December the carrier he was in was hit by an anti-tank round, the driver was killed and Reid’s left arm shattered. On the way to the casualty station the ambulance he was in was captured by a retreating enemy column. He was taken to a German hospital in Tripoli, a journey that took several days in a three-ton truck, by which time gangrene had set in. The surgeon deemed that amputation was necessary, and Major Reid got attention “just as good as that accorded the enemy’s own wounded”. He made a splendid recovery from the operation, and through a nurse interpreter was able to converse with the German surgeon, who worked day and night but always found time to visit every’ patient in the hospital each day.
As the Allied forces advanced towards Tripoli in January 1943, the Germans started to evacuate the patients, but Reid was left behind with a seriously wounded Royal Air Force flight sergeant. They were taken to an Italian civilian hospital, where their medical records were handed over, their wounds dressed again and they were given fresh rations. The British found them there after the fall of the city.
Before the British arrived, Italian partisans entered the hospital and took away the German hospital staff, including the surgeon, and executed them. It was a “tragic end” for the German non-combatants who had saved Major Reid’s life.
↩︎